I wanted to get the BSH stage 2 system but I wanted to use my own catch can. After pricing everything out I figured I could convert a stage 1 kit into stage 2 for about $100 less than buying the stage 2 from BSH. :smile:
A PDF of this DIY can be found here: http://members.shaw.ca/cadbury/Stage2Convert.pdf
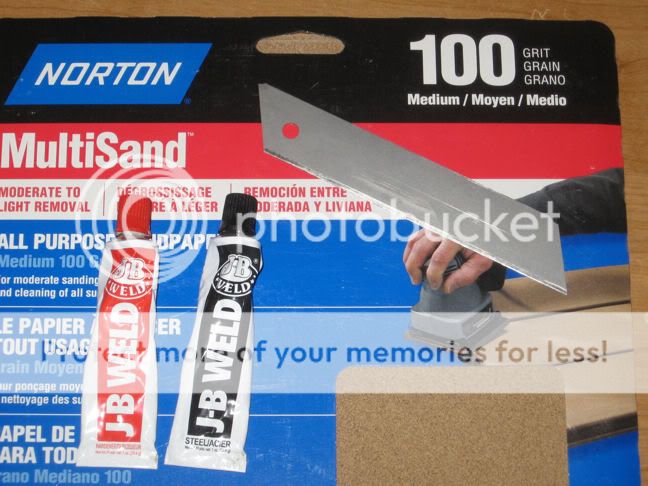
Tools needed:
100 grit sandpaper
JB Weld
blade
5/8-18 Tap
37/64 dill bit
Tools:
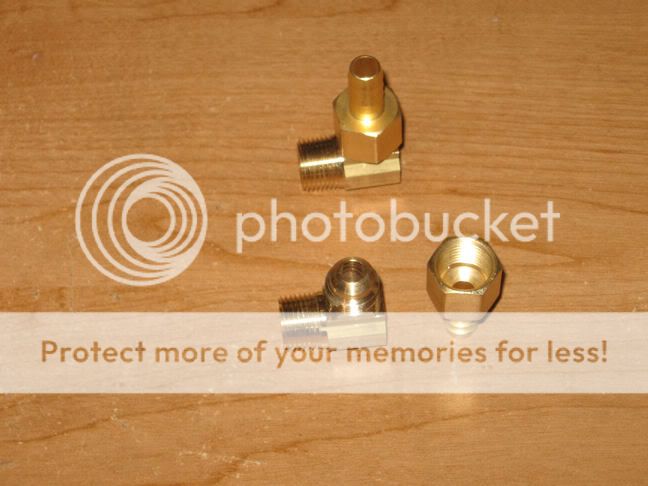
The parts from BSH:

The brass fittings from Home Depot:
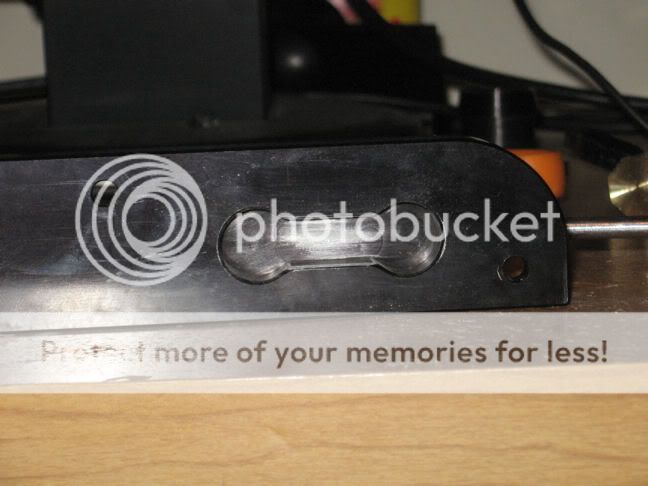
Step 1: Sand down the guidance block so the JB Weld will adhere well.
Step 2: Fill the space with JB weld. Wait 24 hours to make sure it’s fully cured.
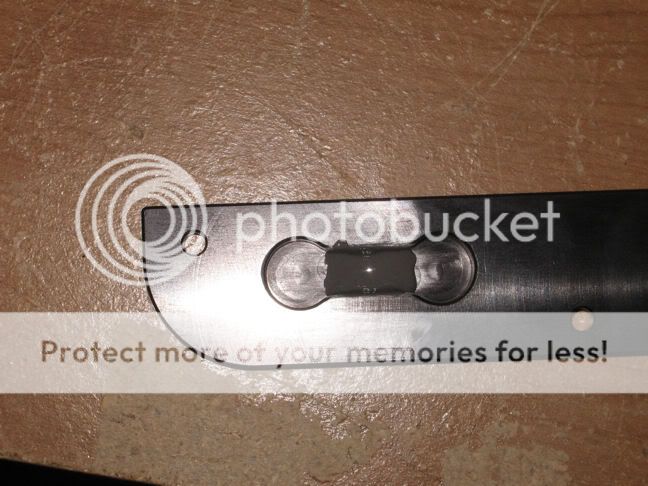

Ensure the finish is very smooth. I used a blade and scraped it across the top.


Step 3: Drill holes. I used a 37/64 drill bit. I found it for $30 at a local Acklands Grainger.
Hole 1:
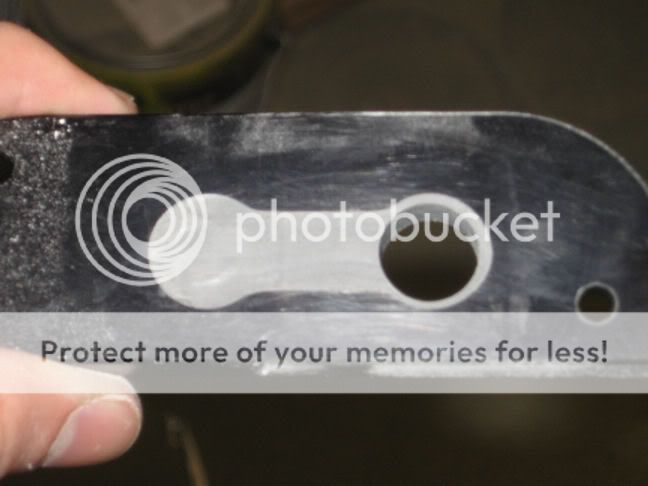
Hole 2:

Step 4: Tap holes. I taped the holes to 5/8-18.
Hole 1:

Hole 2:

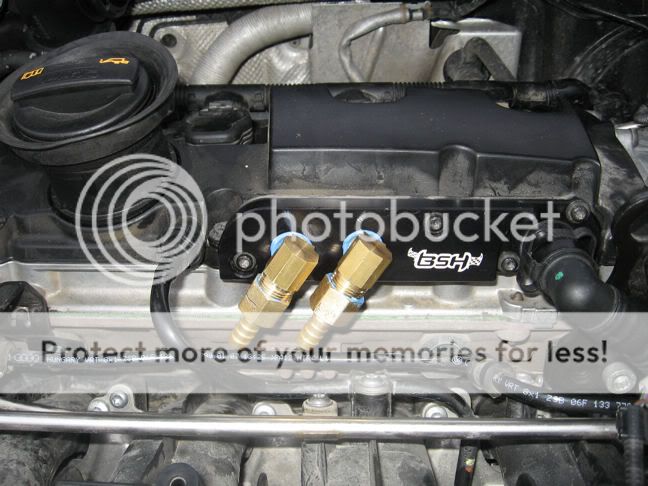
Step 5: Install the guidance block. I opted to use blue silicone gasket maker instead of Teflon tape. The excess silicone was cut off once dried.
**Update**
I received the can a few days ago and I finally had time to install it.
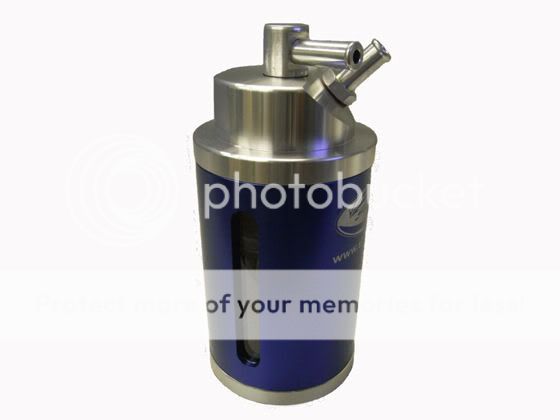
Here is the can:

Here is the design of the can:

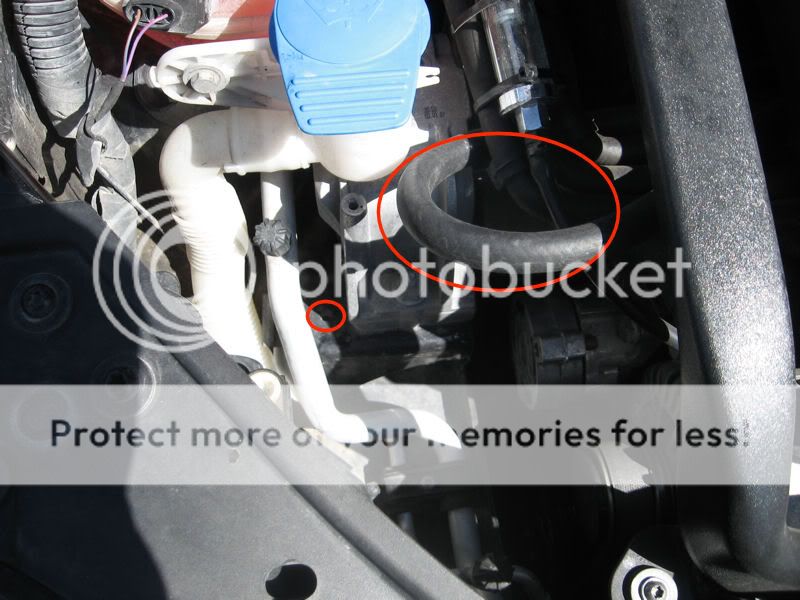
This is where we will mount the can. The hole where we will attach the bracket and the hose we installed errlier:
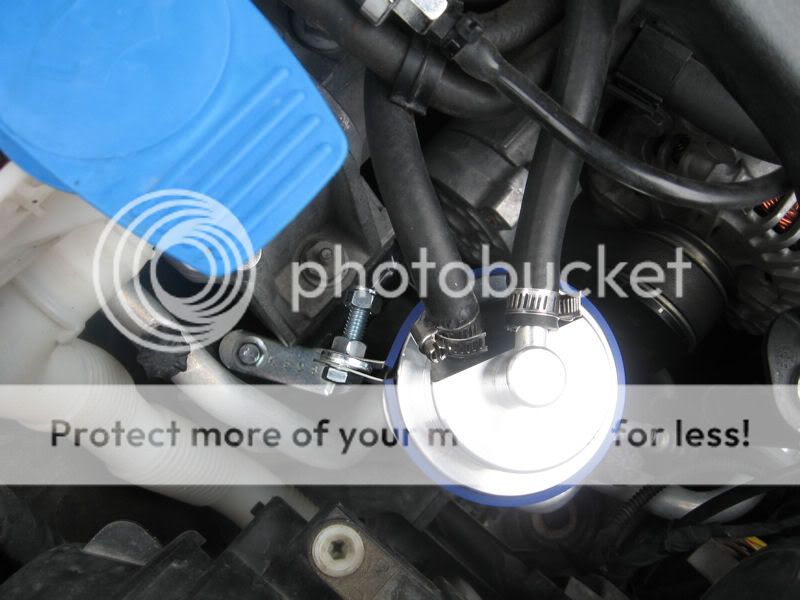
The can in its place:

All done:
Here is the view port so you can see how full the can is:

-Cad
A PDF of this DIY can be found here: http://members.shaw.ca/cadbury/Stage2Convert.pdf
Tools needed:
100 grit sandpaper
JB Weld
blade
5/8-18 Tap
37/64 dill bit
Tools:
The parts from BSH:
The brass fittings from Home Depot:
Step 1: Sand down the guidance block so the JB Weld will adhere well.
Step 2: Fill the space with JB weld. Wait 24 hours to make sure it’s fully cured.
Ensure the finish is very smooth. I used a blade and scraped it across the top.
Step 3: Drill holes. I used a 37/64 drill bit. I found it for $30 at a local Acklands Grainger.
Hole 1:
Hole 2:
Step 4: Tap holes. I taped the holes to 5/8-18.
Hole 1:
Hole 2:
Step 5: Install the guidance block. I opted to use blue silicone gasket maker instead of Teflon tape. The excess silicone was cut off once dried.
**Update**
I received the can a few days ago and I finally had time to install it.
Here is the can:
Here is the design of the can:
This is where we will mount the can. The hole where we will attach the bracket and the hose we installed errlier:
The can in its place:
All done:
Here is the view port so you can see how full the can is:
-Cad
Last edited: