SHCKR
Ready to race!
- Location
- North Carolina
This is a rebuild guide for a 2015 VW GTI SE with a six speed manual transmission. Going from a factory clutch which started to fail at about 20,000 miles (story behind the fail here http://www.golfmk7.com/forums/showthread.php?t=16995).
I used the video guide from YouTube (https://youtu.be/HQJYDvpLgno) so just making sure he gets the deserved credit.
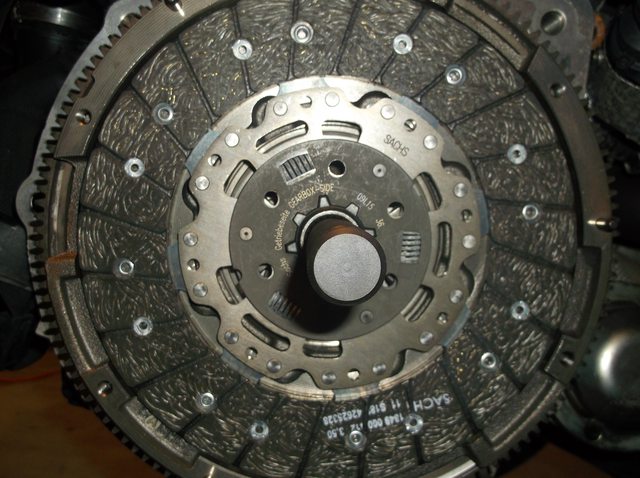
Going from factory clutch to HS Tuning RSR clutch kit (http://www.hstuning.com/product_info.php?products_id=3888).
It's important to note mine DOES NOT HAVE the performance package, so I didn't have to deal with the LSD. If yours has it, refer to the video above, he has it on his. Mine is completely STOCK except for a K&N.
Note: good practice is to always put all the clips, nuts, and bolts back where they belong so you don't end up with a pile of stuff that you don't know where it goes to.
Total cost of the replacement: Clutch $1000 (including a line up tool and the hardware kit, but I got a $75 military discount, no tax, free UPS shipping) and about $300 in tools, however those I get to keep, so I can't really count those against the fix. Beats the $3000 that the stealership quoted me. (for a factory clutch)
Let's begin.
First, things needed:
A vehicle


A video guide that I used:

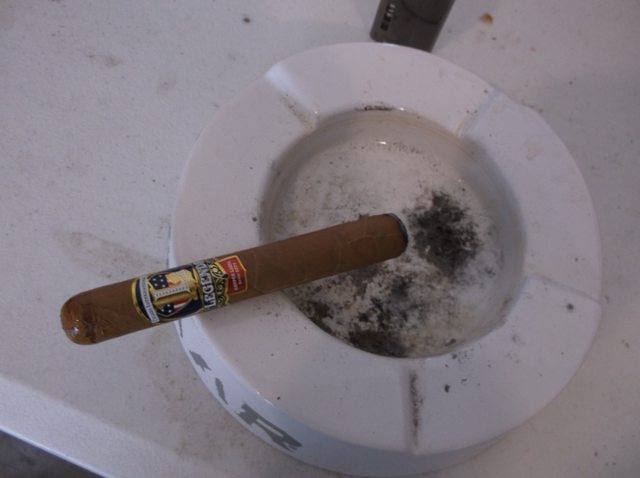
A good cigar:
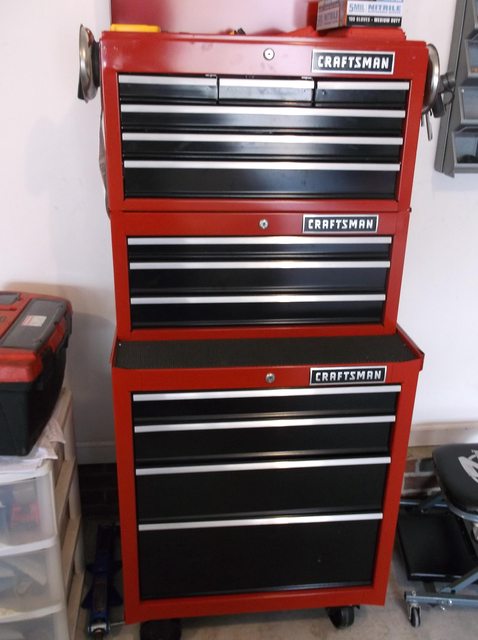
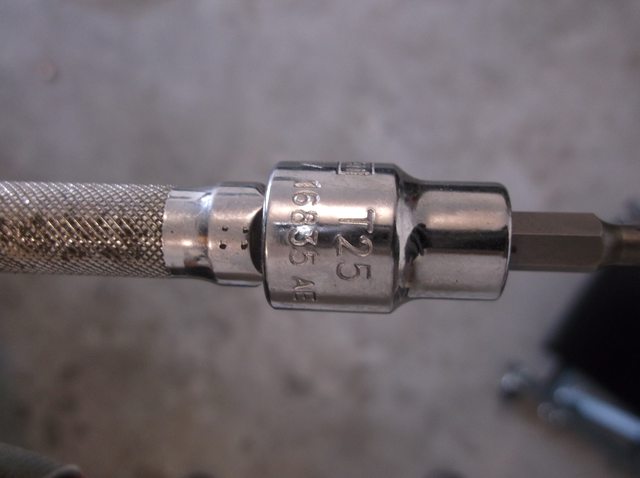
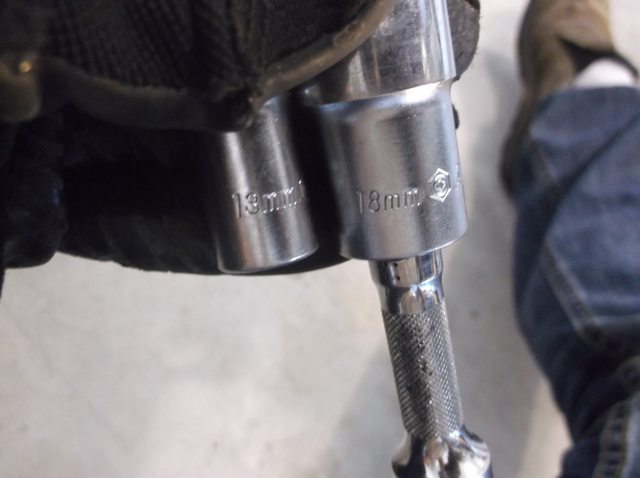
A toolbox with general assortment of tools, however as you'll see later in the guide, I mostly only used 3/8 drive with some exceptions, no air tools. Total sockets used are less than 15, so if you have to go out and buy stuff, don't sweat it.
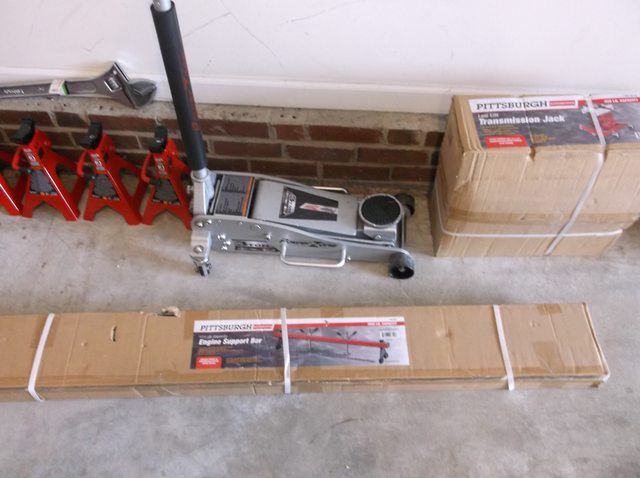
A floor jack, jack stands, transmission jack (really is optional, but helpful), and an engine support bar.
I started by jacking up one side half way
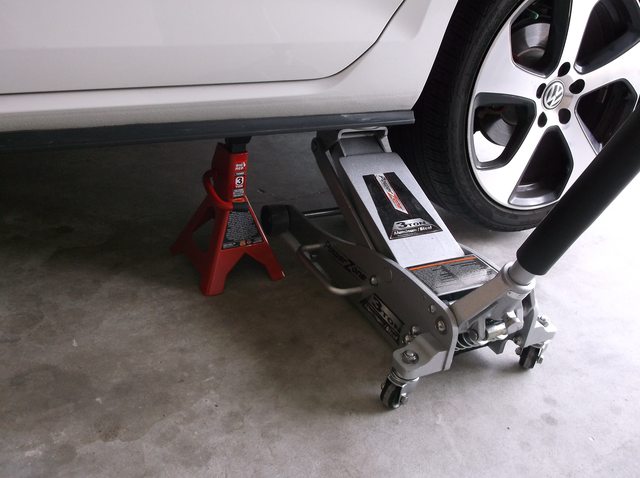
then the other side all the way
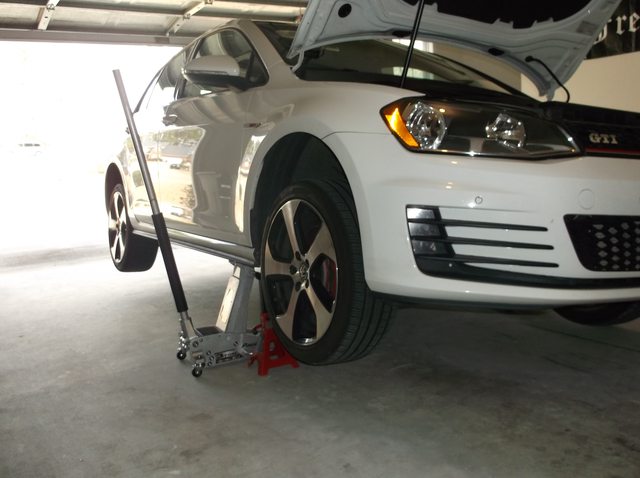
then the first side all the way

This brought me about 16" off the ground. If you use bigger jack stands, you may be able to go higher, but this was enough for me.

Remove the intake clamps

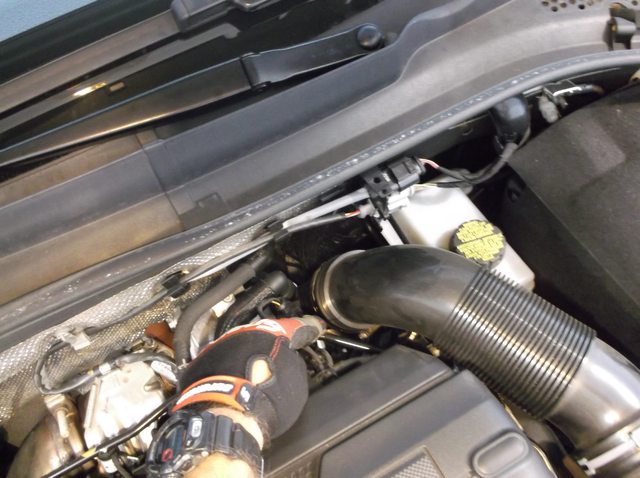
I had to use a swivel to get to the back. 7 mm.


Highly recommend you "plug" the inlet, you don't want anything to fall in there by accident.

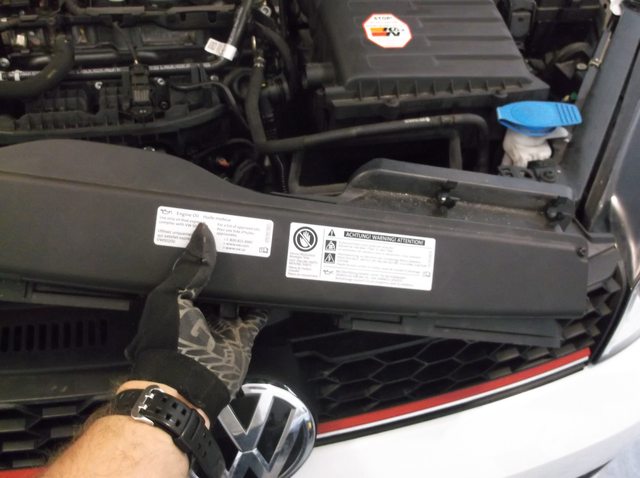
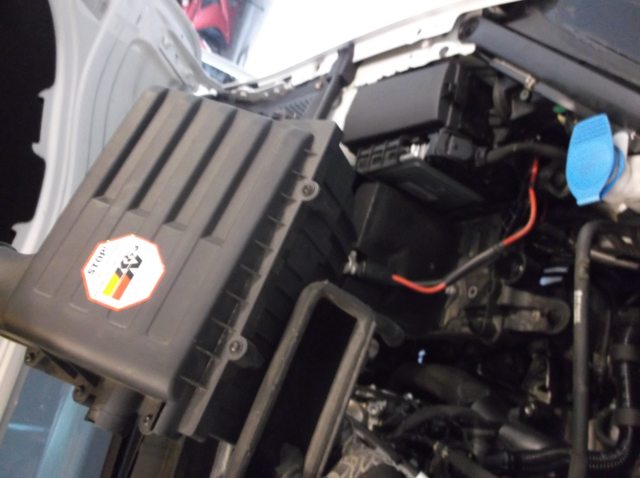
Remove engine cover

Remove hoses from the air box
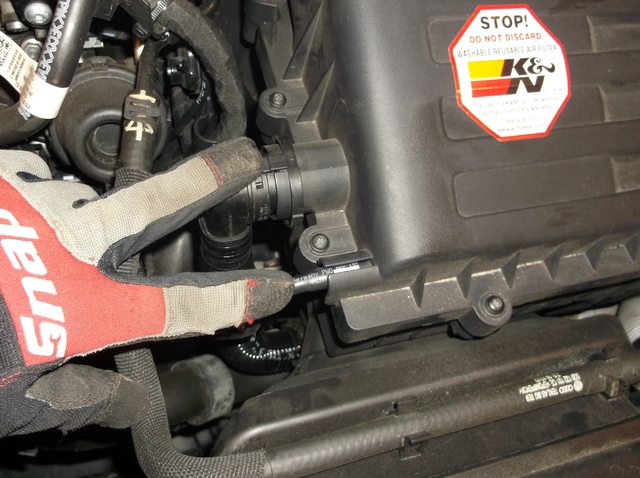
Use small screwdriver to assist with small hose removal.
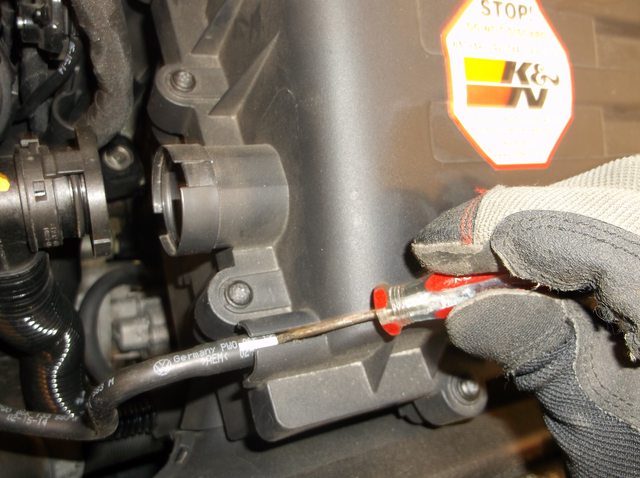
Remove the air dam or whatever it's called.
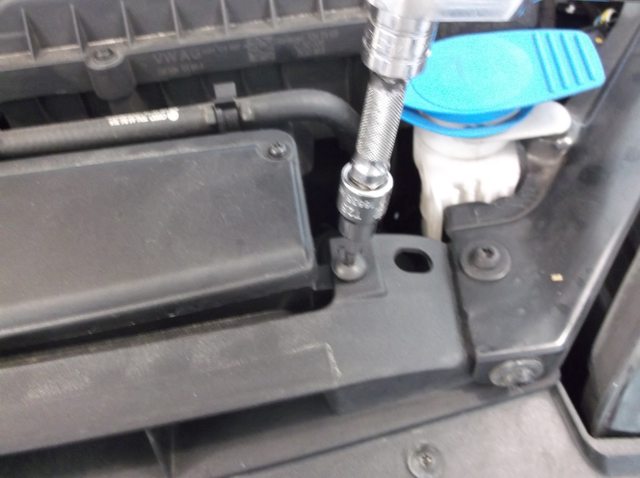
It's T25 Torx screws
Pull up on the hose going over it, those clips were actually kinda stiff, so be gentle not to break them, pry apart with both hands while pulling up on the hose.

Remove the air dam (or whatever)
Lift up the air box, It sits on rubber grommets and pulls straight up, takes a bit of force

Remove the battery cables (both the one I'm pointing to and the negative). It's 10mm


Remove the battery clamp, it's 13mm

Lift the battery wrap cover, and then the battery itself. Make sure and don't place the battery on concrete floor, place a piece of cardboard under it or something.

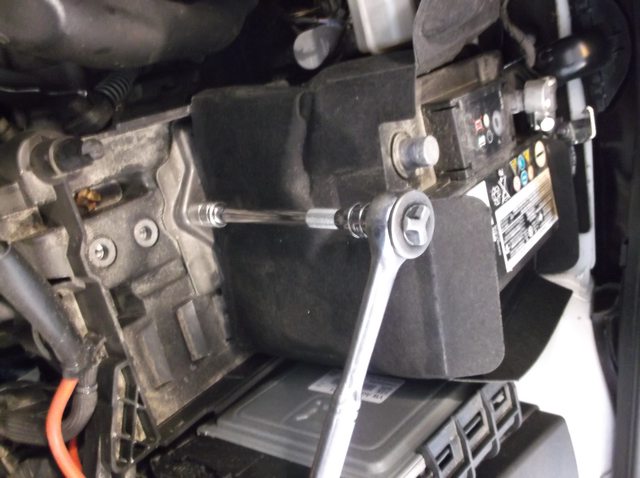
Remove the battery tray, there are several bolts, nuts, and wire retainer clips. Nuts are 10mm


Because I have regular headlights, it was partially in the way, I had to use a 1/4" drive with a swivel to get to the front right bolt.

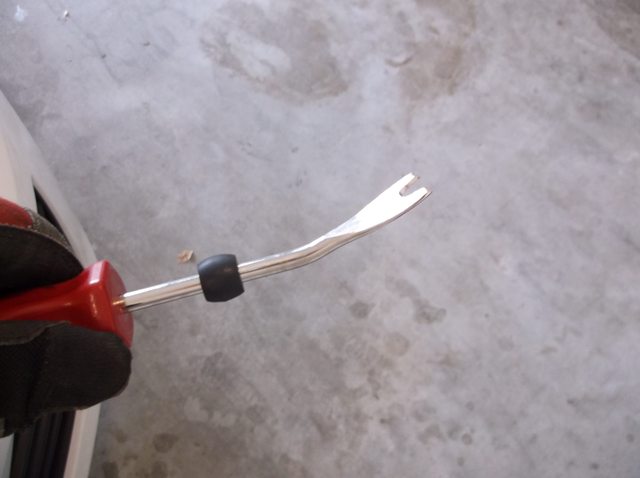
For all the electrical retainer clips, get one of these if you don't want to be replacing all the clips
Un-clip wires
Sorry for the blurry image, but that's the nut on the back right wall

There's another slide-off wire clip there
Lift out the battery tray

Remove the shift linkages. One on the left can be removed by removing the clip on top and pulling up, the one on the right, use a screwdriver to separate the linkage from bracket and it will slide off with some resistance.


Remove the nut from the linkage itself, 13mm.

Mark the linkage alignment so you know how to put it back on later. It's keyed, but better safe than sorry.
Remove the small white plastic clip from the other linkage, push up on the bottom, and it will pop off. Be careful, it may go flying on you.

This is what that clip looks like so you know what to push on before you begin messing with it.

Slide the black plastic linkage out a bit after removing the clip, that will allow for the metal linkage to be pulled straight up. Linkage is spring loaded underneath.

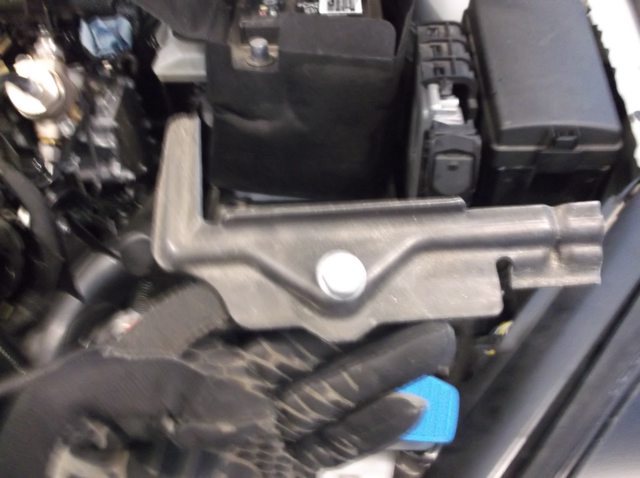
Remove the bracket that holds the cables. It's 13mm. To be honest, for everything that I use 13mm for you could probably use 1/2" standard socket, but my socket was messed up, so I used the 13.

The third mounting point is a nut that shares the transmission bolt

Zip tie the bracket with the cables somewhere around the brake booster, out of the way.

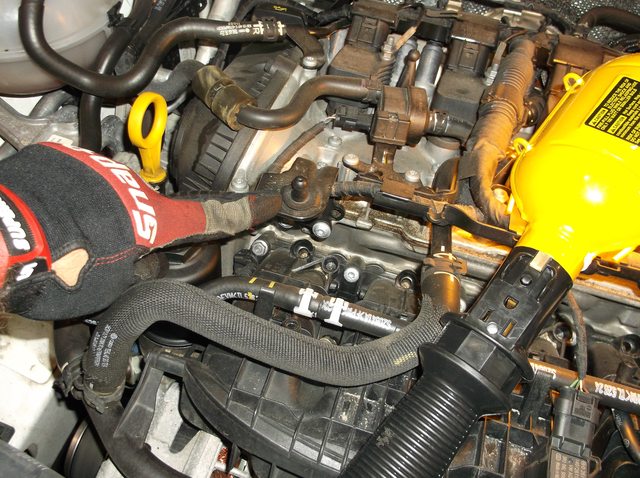
Un-clip the electrical cable from the transmission. It presses in from underneath.

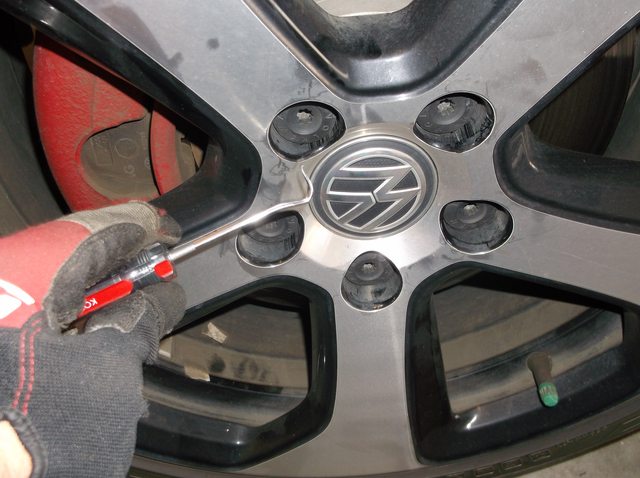
Pull out the lug bolt covers
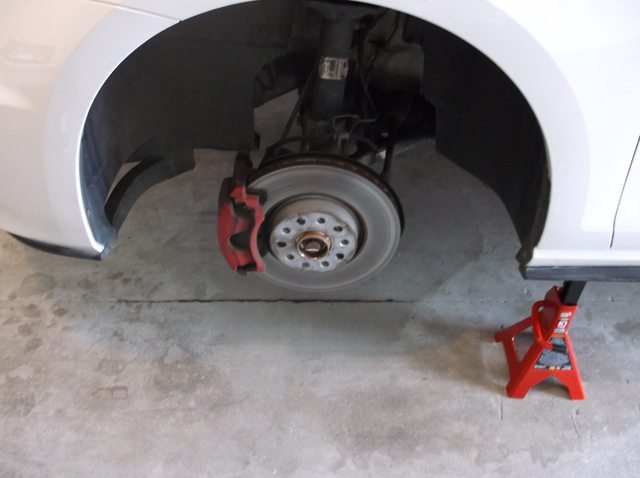
Remove driver's side wheel
Remove ground cable near the starter, 13mm.
Remove electrical plug from starter by pulling out the red piece away from the starter, then squeezing

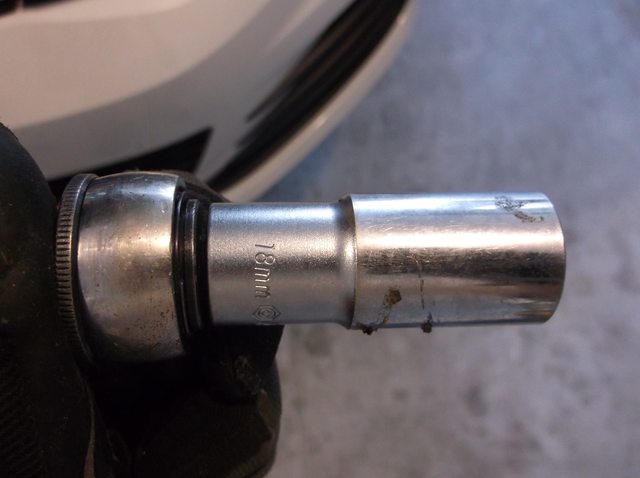
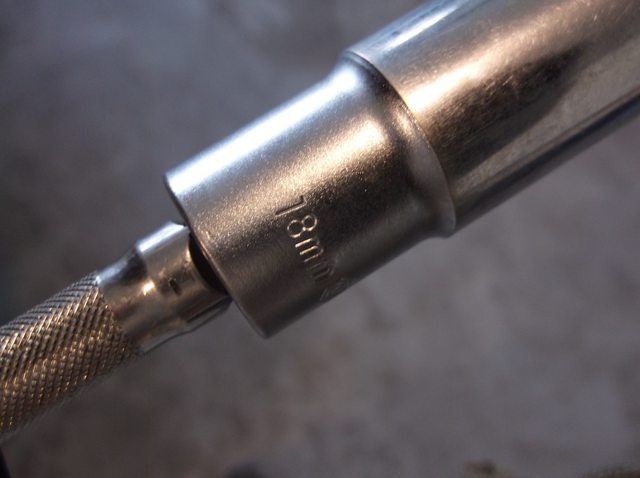
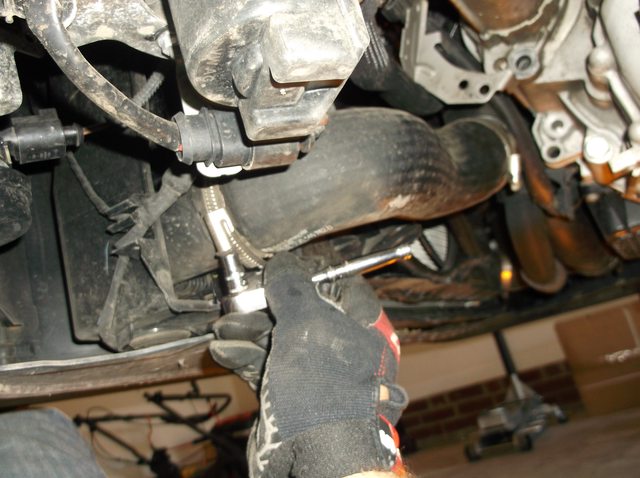
Remove the starter mounting bolt. 18mm

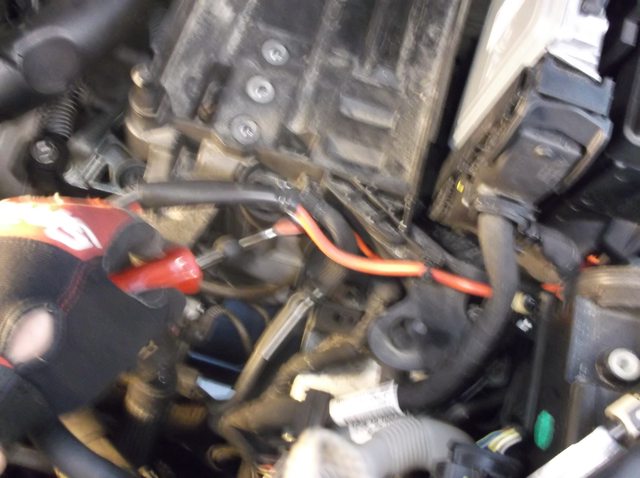
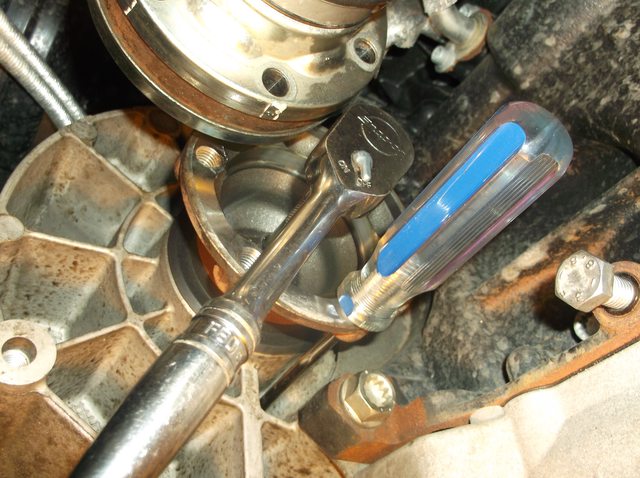
Remove the black bleeder valve that's right next to that bolt in the previous picture. Do it by pulling up on the silver metal clip that's closer to the tranny, then pull the valve straight off, remember to place the clip back on after you're done.

The guy in the video says there is such thing as a hose clamp thing that will stop that hose from leaking, I simply zip-tied it up on the right side, make sure it's higher than the brake reservoir, so it doesn't continuously leak. In this picture it's actually lower, I had to go back and move it higher cause it was still leaking.

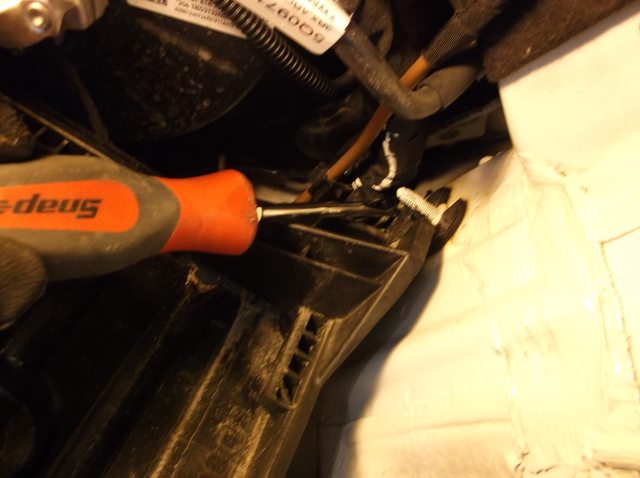
Remove the plastic covers from the engine hooks. This one you have to pry on the inside tab away from yourself while prying up with a screwdriver, the guy in the video broke his tab, I managed to take mine off in one piece, if you break the tab, then every time you pull of your engine cover, this piece will simply come off with it.

This is the left side, you have to squeeze underneath, on both sides, while prying up from the top with a screwdriver, it's a pain in the ass but possible.

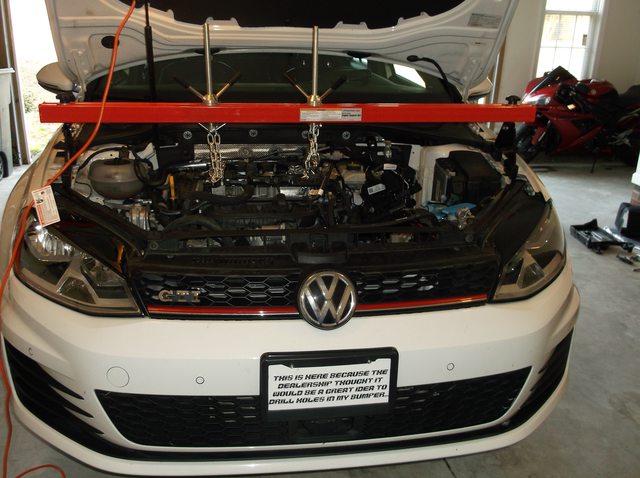
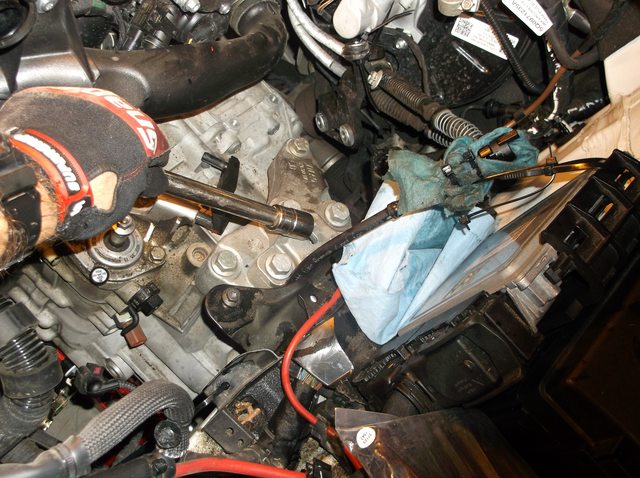
Install the engine support bar. I got mine at harbor freight for $80. They have 20% off coupon on their website that you can use as well to make it even cheaper. If you look closely, I used heavy duty padlocks as shackles through the engine hooks, because I didn't have right size bolts to go through the chain, refer to the video to see what I'm talking about. (and the front license plate is a whole another story on it's own...)
Remove the top two transmission mounting bolts, it's 18mm deep well.


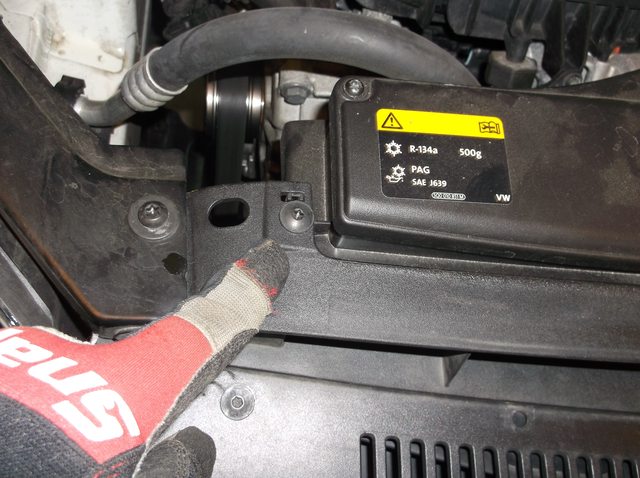
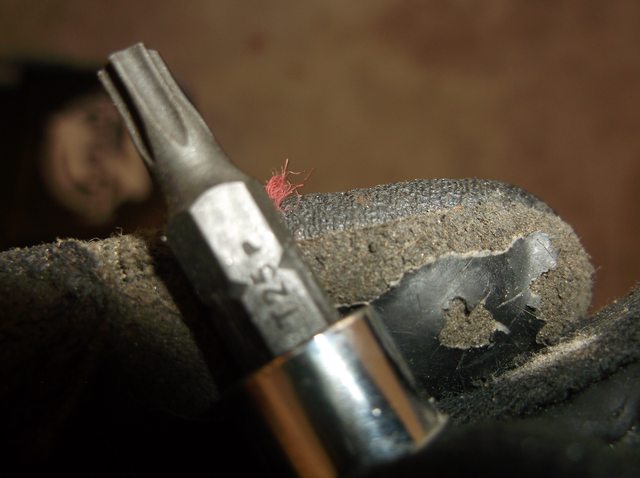
Remove the lower engine cover, it's T25 Torx, and I used a driver for removal, which I'm not going to use for installation to avoid stripping them.
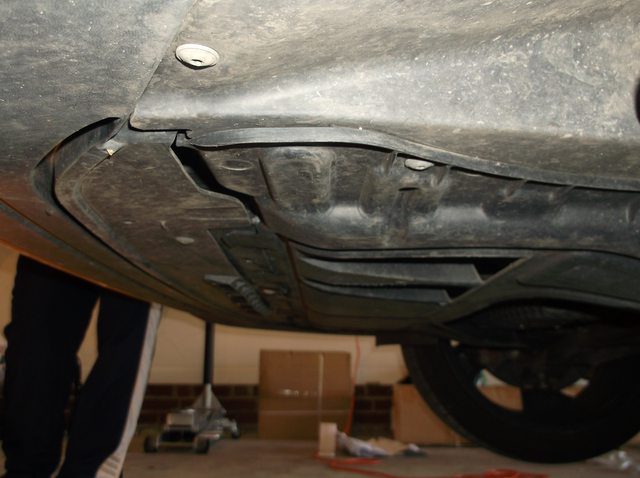

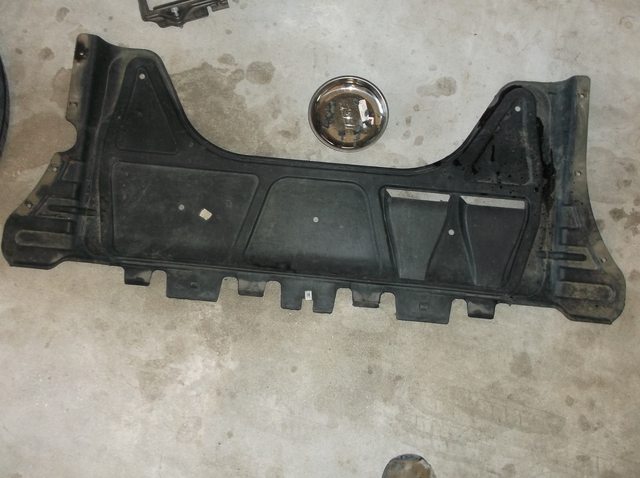
There are 11 screws holding it up
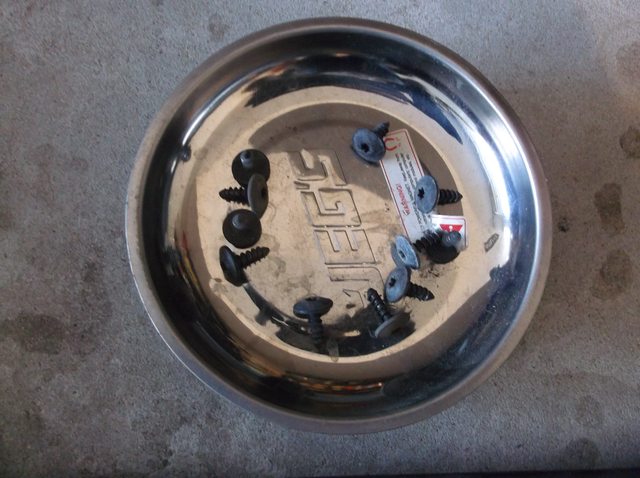
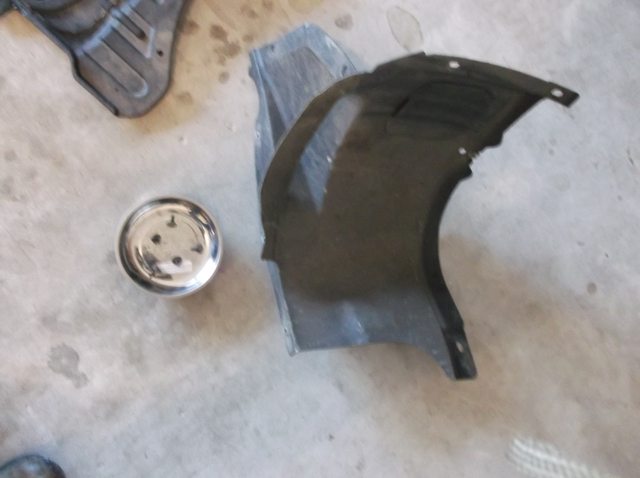
Remove passenger side wheel well shield, 6 screws

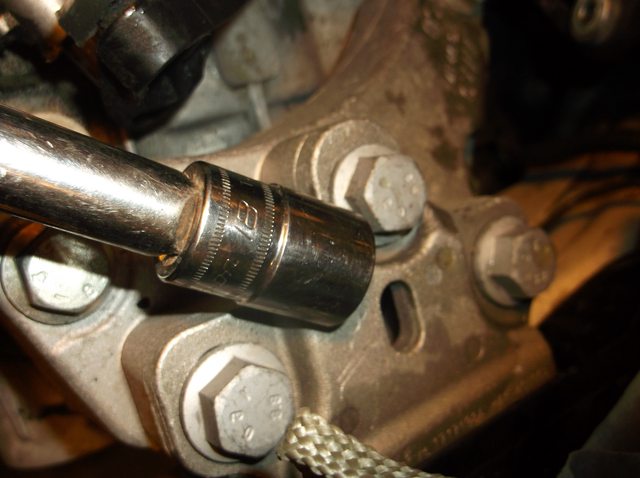
Remove the lower starter bracket and bolt. 13mm and 18mm
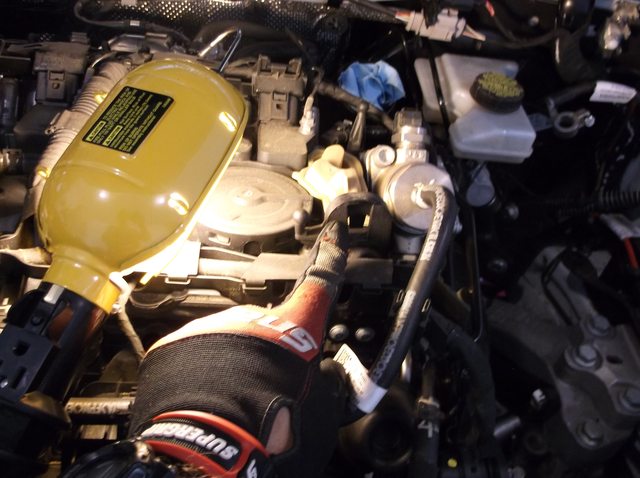
Remove the cooler hose. 7mm socket.


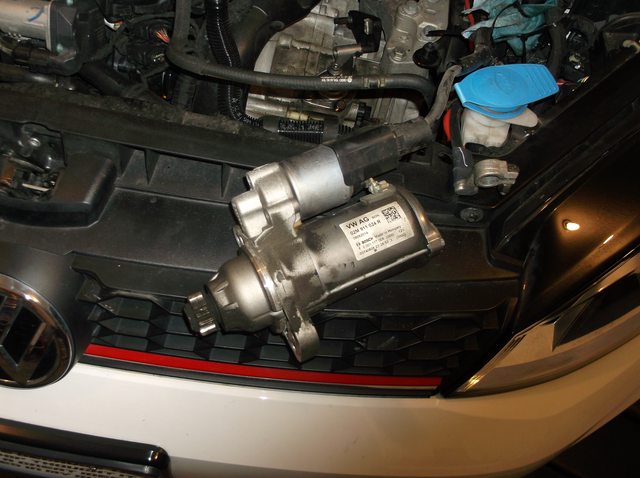
Pull out the starter, route through the top, and hang over the front, unless you just want to unbolt the rest of the cables, feel free, this worked for me.

Remove sway bar nut on the drivers side. 18mm
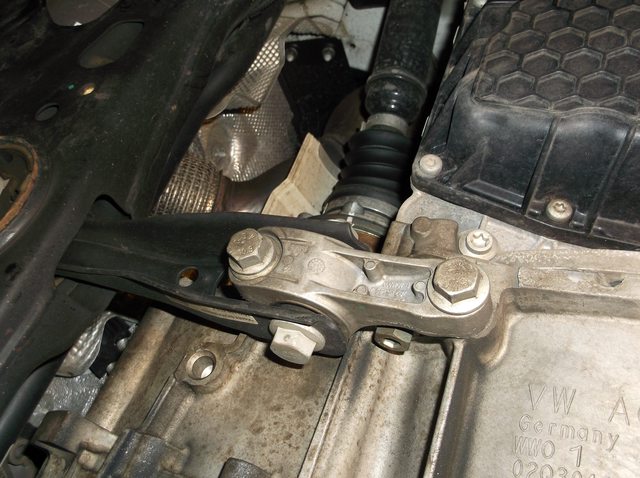
Remove dog bone (underneath) 21mm and 16mm. Those bolts are supposedly not re-usable.


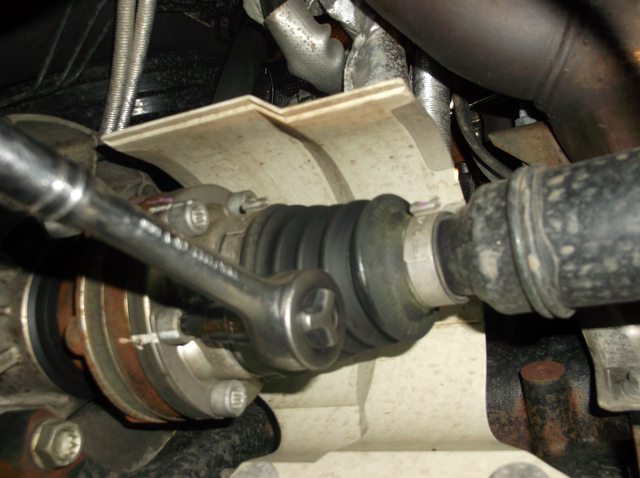
Remove half-shaft/cv-axle, whatever you want to call it, bolts. T50 Torx. The guy in the video said to mark them, so I did, he said the way the half-moon clips are on there, they may be balanced from the factory, once again, better safe than sorry. Have someone sit inside and hold the brakes while you break the bolts loose. Make sure they DON'T STEP ON THE CLUTCH PEDAL.


At this point it's time for a cigar number 2 and beer number.....

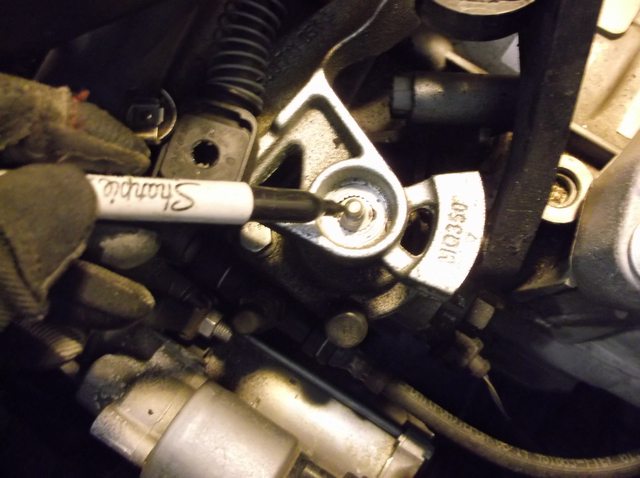
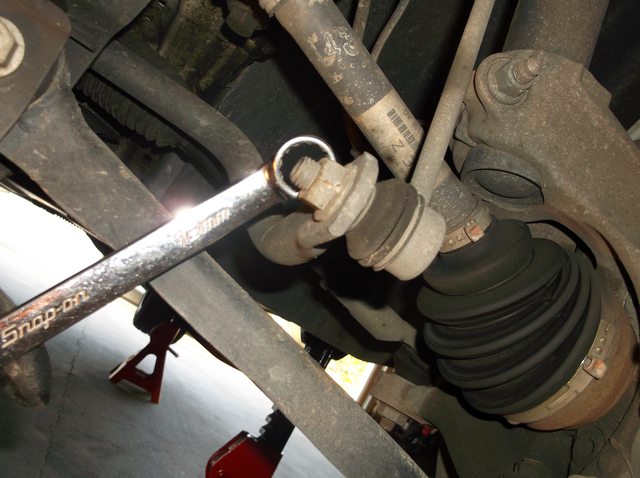
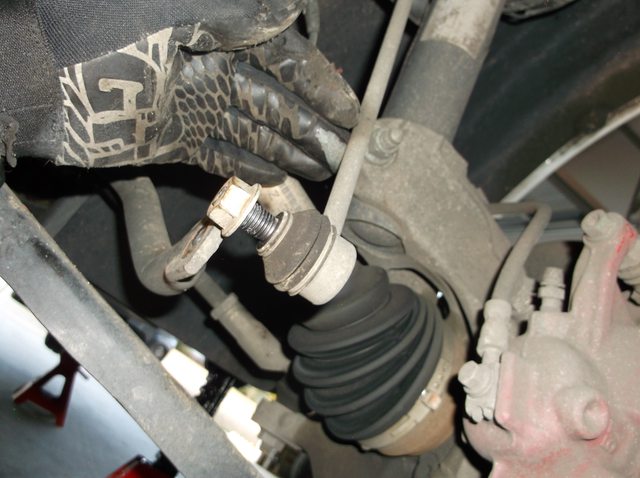
Remove the nut off the steering arm, then smack it up with a hammer, while the nut is somewhat screwed on there to protect the threads. 21mm

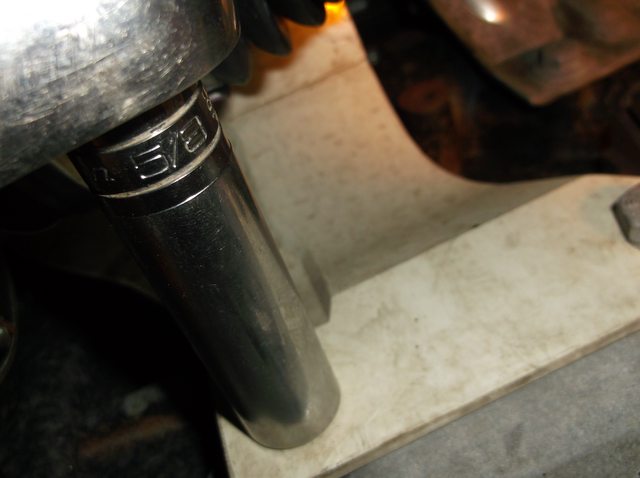
Remove lower A arm nuts (3) 5/8"

Pop the whole hub assembly up, then pull to the right, and bungee it out of the way.

Which makes plenty of room for the transmission
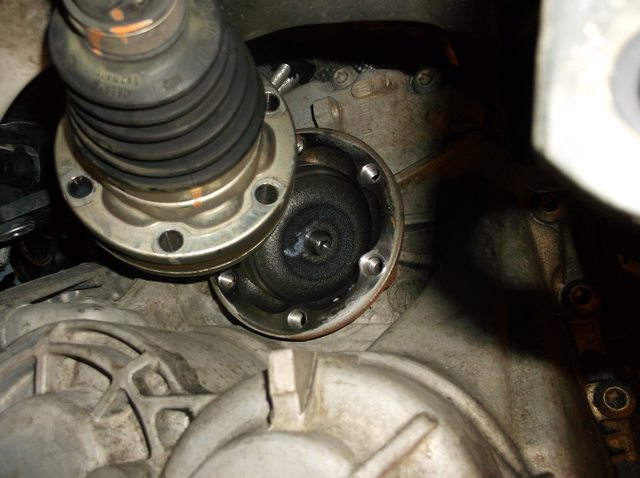
Remove drivers side axle flange, there's an allen bolt in there, 6mm, and use a screwdriver to keep it from spinning, if yours is hard to remove, then avoid using the screwdriver so you don't damage the threads.


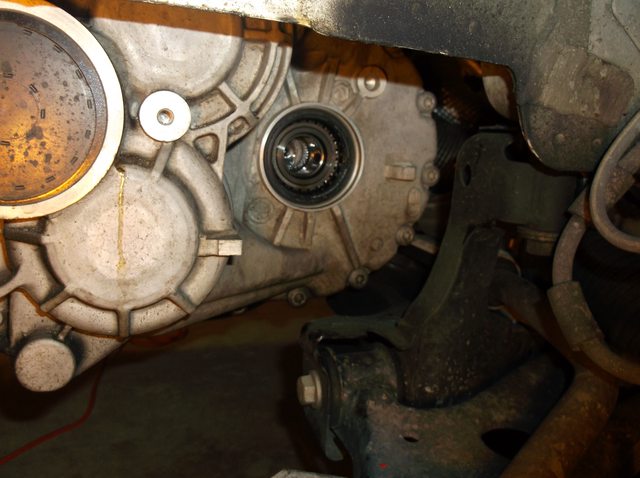
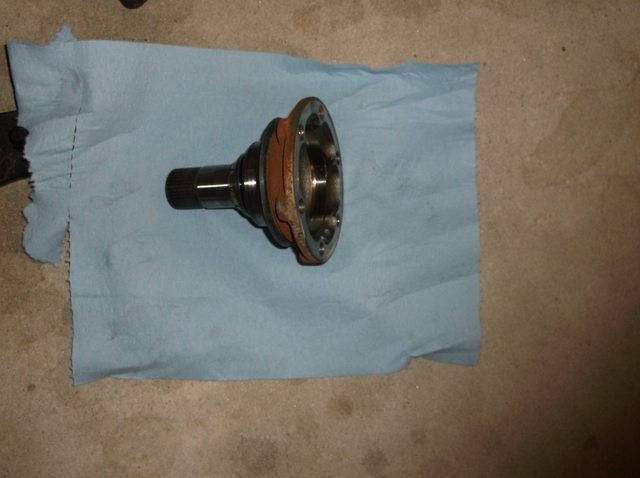
Do the same thing on the passenger side. I had to use a bunch of extensions so I can do it from the wheel well. Don't forget to mark them.


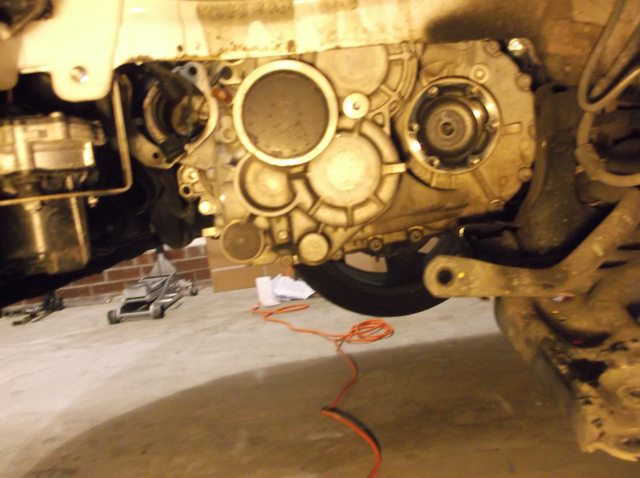
You may need to remove the heat shield out of the way. It's 5/8"

Remove the passenger side flange

I lost about 1/2 ounce of fluid when I pulled it out
Therefore plug the opening so you don't lose anymore, unless you plan on flushing it ($40/liter)

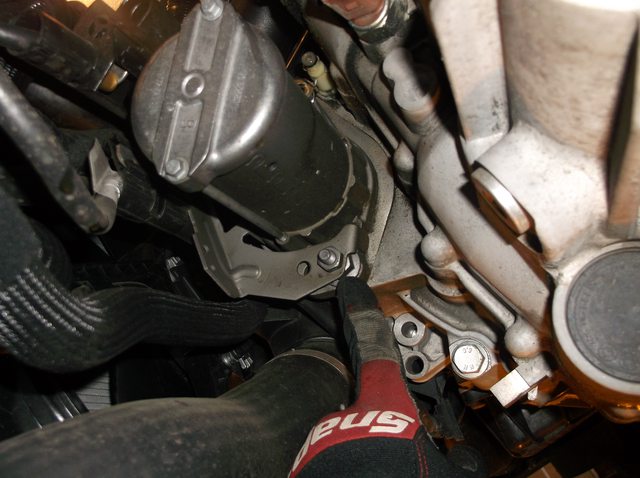
Remove driver's side engine mount, 18mm, bolts are also supposed to be non-reusable.
Pull out the plastic bracket
And the engine mount bracket
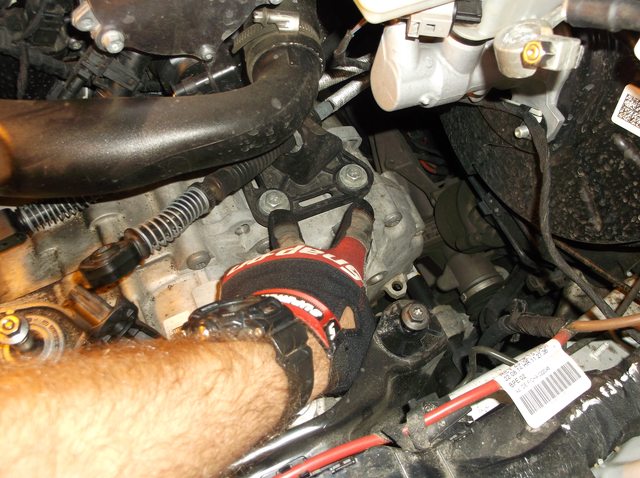
Remove the two bottom transmission bolts, 16mm (as you can see I got the transmission jack ready)


Secure the transmission to the jack (don't do it too tight, because there's not enough room, at least with my jack, to release the clamp if needed, like in my case, I ended up lowering the transmission with the jack a little bit, but then yanking it out by bench pressing it, that's why I said jack is optional. Might aid with install.
Remove the last bolt on the passenger side of transmission

After that remove the final transmission bolt on the front
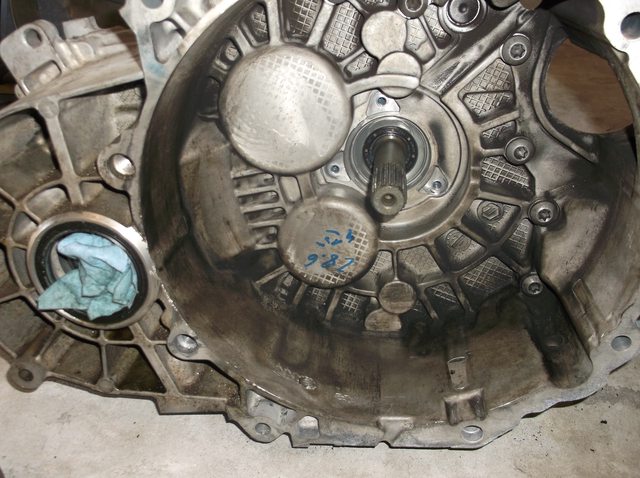
Yank out the tranny, then infamously flip it off. Mine had to be slightly pried away, then it cam off relatively easy.
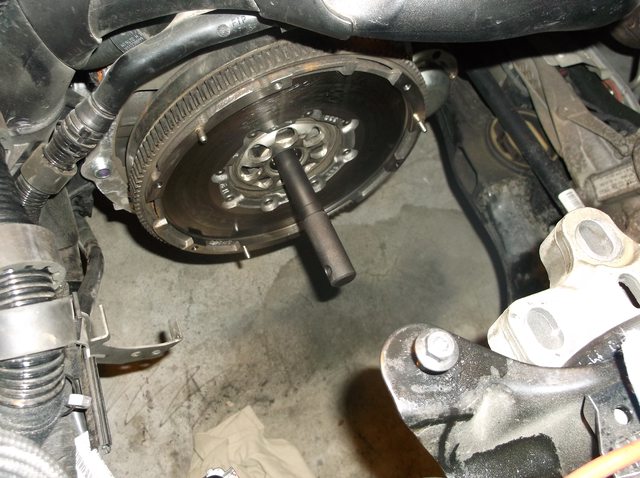
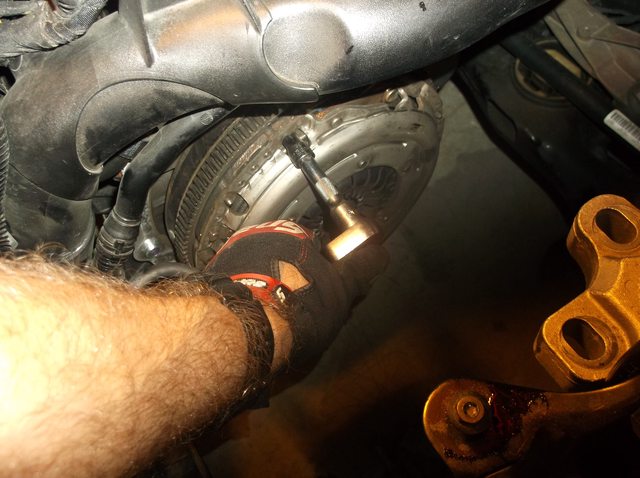
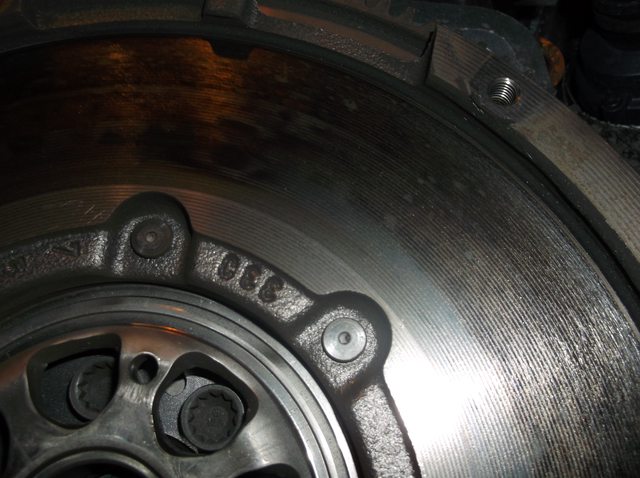
Remove the pressure plate bolts, they're 9mm. The guy in the video says it may spring off, so be careful.

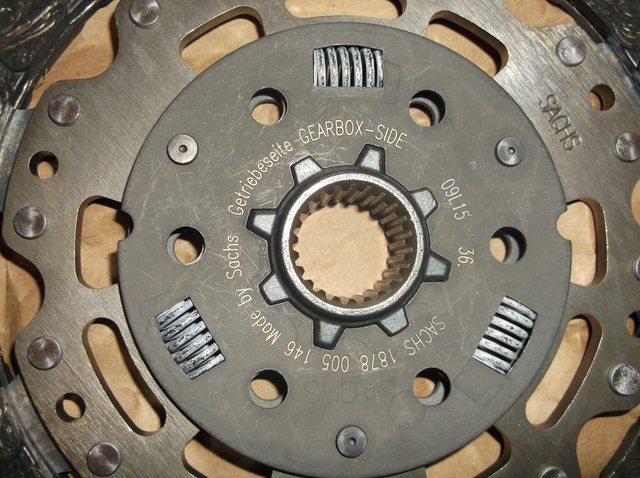
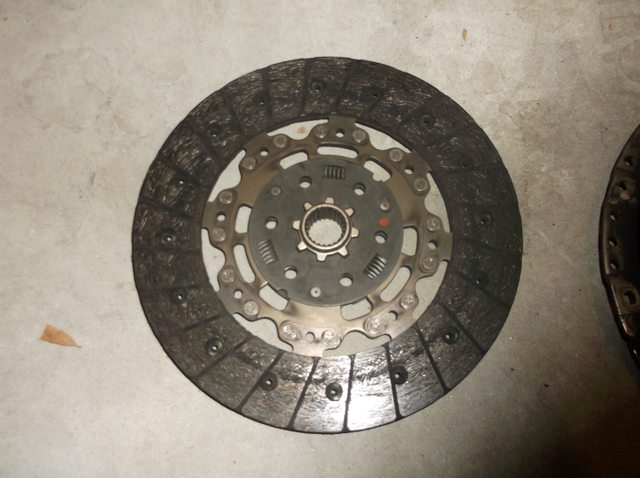
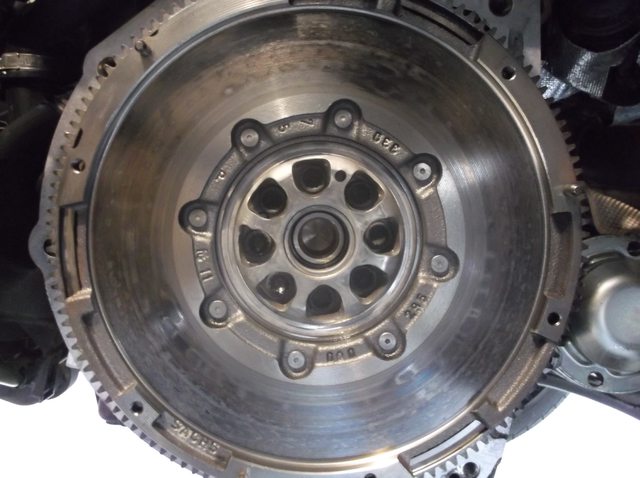
There's the disk
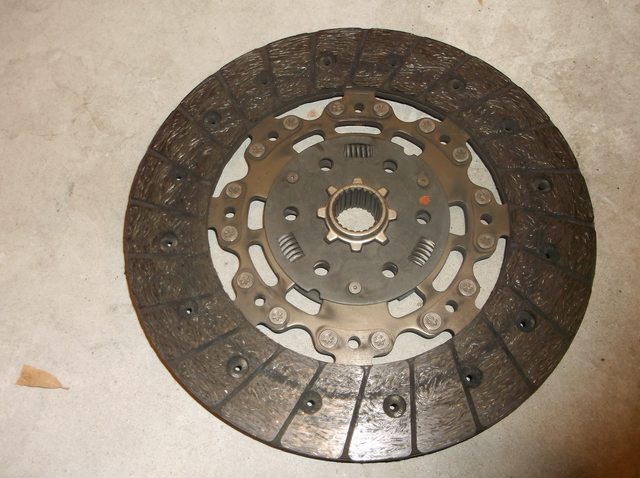
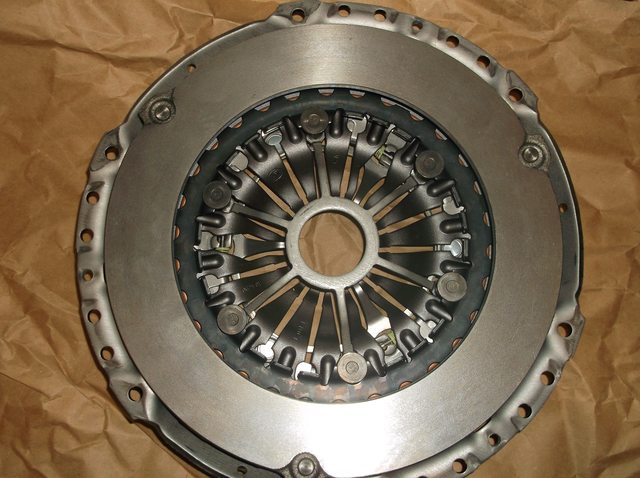
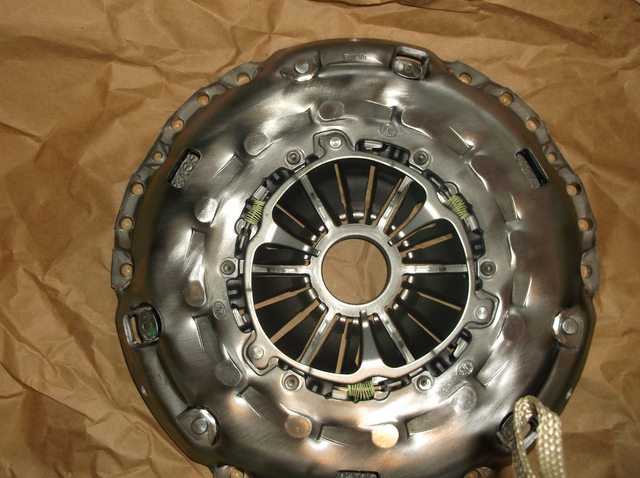
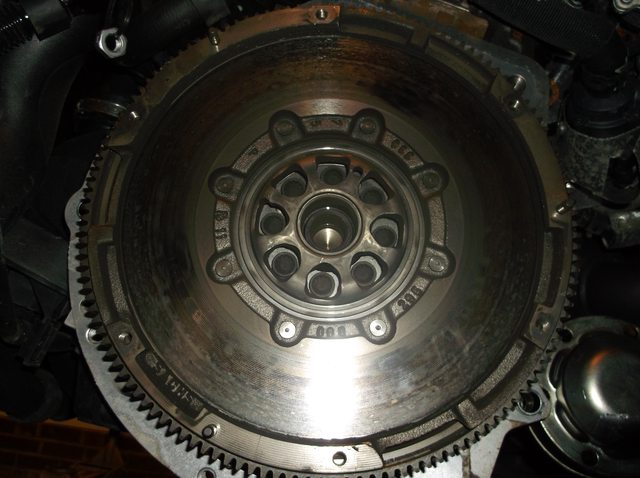
Pressure plate


And the flywheel


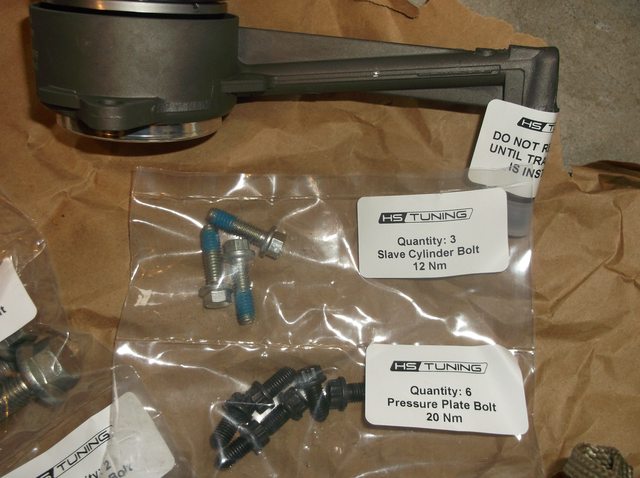
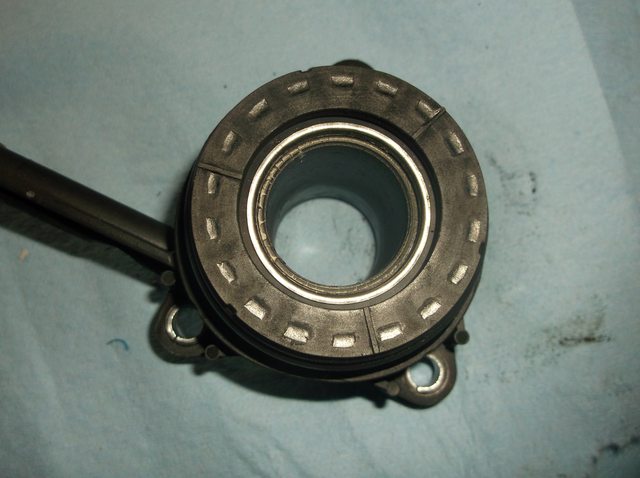
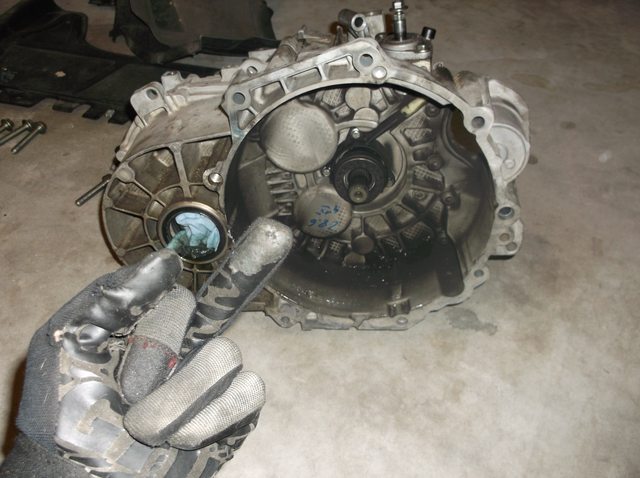
Remove the throw out bearing bolts (3) They're 9mm 1/4" drive. They have loctite on them, so make sure you put some on for the new one.


I used the video guide from YouTube (https://youtu.be/HQJYDvpLgno) so just making sure he gets the deserved credit.
Going from factory clutch to HS Tuning RSR clutch kit (http://www.hstuning.com/product_info.php?products_id=3888).
It's important to note mine DOES NOT HAVE the performance package, so I didn't have to deal with the LSD. If yours has it, refer to the video above, he has it on his. Mine is completely STOCK except for a K&N.
Note: good practice is to always put all the clips, nuts, and bolts back where they belong so you don't end up with a pile of stuff that you don't know where it goes to.
Total cost of the replacement: Clutch $1000 (including a line up tool and the hardware kit, but I got a $75 military discount, no tax, free UPS shipping) and about $300 in tools, however those I get to keep, so I can't really count those against the fix. Beats the $3000 that the stealership quoted me. (for a factory clutch)
Let's begin.
First, things needed:
A vehicle
A video guide that I used:
A good cigar:
A toolbox with general assortment of tools, however as you'll see later in the guide, I mostly only used 3/8 drive with some exceptions, no air tools. Total sockets used are less than 15, so if you have to go out and buy stuff, don't sweat it.
A floor jack, jack stands, transmission jack (really is optional, but helpful), and an engine support bar.
I started by jacking up one side half way
then the other side all the way
then the first side all the way
This brought me about 16" off the ground. If you use bigger jack stands, you may be able to go higher, but this was enough for me.
Remove the intake clamps
I had to use a swivel to get to the back. 7 mm.
Highly recommend you "plug" the inlet, you don't want anything to fall in there by accident.
Remove engine cover
Remove hoses from the air box
Use small screwdriver to assist with small hose removal.
Remove the air dam or whatever it's called.
It's T25 Torx screws
Pull up on the hose going over it, those clips were actually kinda stiff, so be gentle not to break them, pry apart with both hands while pulling up on the hose.
Remove the air dam (or whatever)
Lift up the air box, It sits on rubber grommets and pulls straight up, takes a bit of force
Remove the battery cables (both the one I'm pointing to and the negative). It's 10mm
Remove the battery clamp, it's 13mm
Lift the battery wrap cover, and then the battery itself. Make sure and don't place the battery on concrete floor, place a piece of cardboard under it or something.
Remove the battery tray, there are several bolts, nuts, and wire retainer clips. Nuts are 10mm
Because I have regular headlights, it was partially in the way, I had to use a 1/4" drive with a swivel to get to the front right bolt.
For all the electrical retainer clips, get one of these if you don't want to be replacing all the clips
Un-clip wires
Sorry for the blurry image, but that's the nut on the back right wall
There's another slide-off wire clip there
Lift out the battery tray
Remove the shift linkages. One on the left can be removed by removing the clip on top and pulling up, the one on the right, use a screwdriver to separate the linkage from bracket and it will slide off with some resistance.
Remove the nut from the linkage itself, 13mm.
Mark the linkage alignment so you know how to put it back on later. It's keyed, but better safe than sorry.
Remove the small white plastic clip from the other linkage, push up on the bottom, and it will pop off. Be careful, it may go flying on you.
This is what that clip looks like so you know what to push on before you begin messing with it.
Slide the black plastic linkage out a bit after removing the clip, that will allow for the metal linkage to be pulled straight up. Linkage is spring loaded underneath.
Remove the bracket that holds the cables. It's 13mm. To be honest, for everything that I use 13mm for you could probably use 1/2" standard socket, but my socket was messed up, so I used the 13.
The third mounting point is a nut that shares the transmission bolt
Zip tie the bracket with the cables somewhere around the brake booster, out of the way.
Un-clip the electrical cable from the transmission. It presses in from underneath.
Pull out the lug bolt covers
Remove driver's side wheel
Remove ground cable near the starter, 13mm.
Remove electrical plug from starter by pulling out the red piece away from the starter, then squeezing
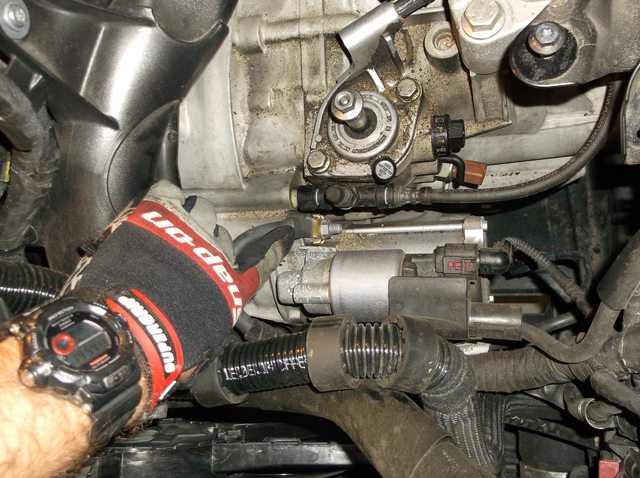
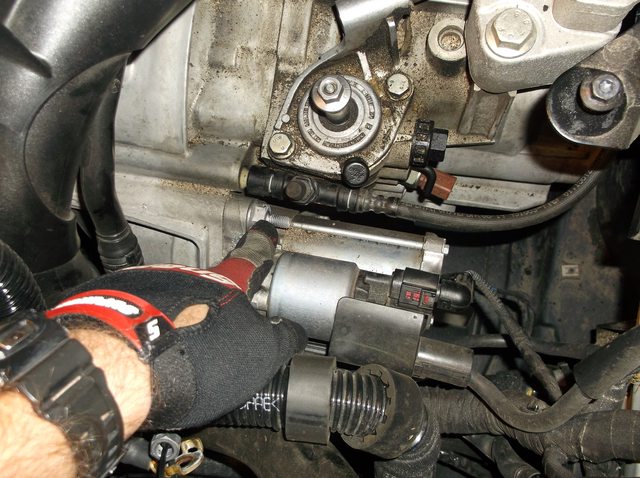
Remove the starter mounting bolt. 18mm
Remove the black bleeder valve that's right next to that bolt in the previous picture. Do it by pulling up on the silver metal clip that's closer to the tranny, then pull the valve straight off, remember to place the clip back on after you're done.
The guy in the video says there is such thing as a hose clamp thing that will stop that hose from leaking, I simply zip-tied it up on the right side, make sure it's higher than the brake reservoir, so it doesn't continuously leak. In this picture it's actually lower, I had to go back and move it higher cause it was still leaking.
Remove the plastic covers from the engine hooks. This one you have to pry on the inside tab away from yourself while prying up with a screwdriver, the guy in the video broke his tab, I managed to take mine off in one piece, if you break the tab, then every time you pull of your engine cover, this piece will simply come off with it.
This is the left side, you have to squeeze underneath, on both sides, while prying up from the top with a screwdriver, it's a pain in the ass but possible.
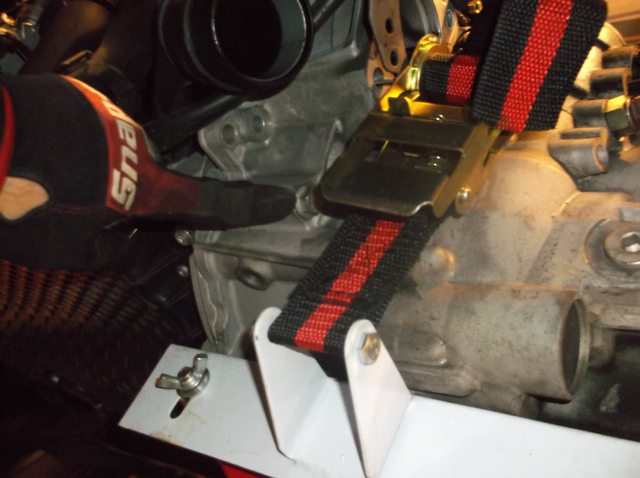
Install the engine support bar. I got mine at harbor freight for $80. They have 20% off coupon on their website that you can use as well to make it even cheaper. If you look closely, I used heavy duty padlocks as shackles through the engine hooks, because I didn't have right size bolts to go through the chain, refer to the video to see what I'm talking about. (and the front license plate is a whole another story on it's own...)
Remove the top two transmission mounting bolts, it's 18mm deep well.
Remove the lower engine cover, it's T25 Torx, and I used a driver for removal, which I'm not going to use for installation to avoid stripping them.
There are 11 screws holding it up
Remove passenger side wheel well shield, 6 screws
Remove the lower starter bracket and bolt. 13mm and 18mm
Remove the cooler hose. 7mm socket.
Pull out the starter, route through the top, and hang over the front, unless you just want to unbolt the rest of the cables, feel free, this worked for me.
Remove sway bar nut on the drivers side. 18mm
Remove dog bone (underneath) 21mm and 16mm. Those bolts are supposedly not re-usable.
Remove half-shaft/cv-axle, whatever you want to call it, bolts. T50 Torx. The guy in the video said to mark them, so I did, he said the way the half-moon clips are on there, they may be balanced from the factory, once again, better safe than sorry. Have someone sit inside and hold the brakes while you break the bolts loose. Make sure they DON'T STEP ON THE CLUTCH PEDAL.
At this point it's time for a cigar number 2 and beer number.....
Remove the nut off the steering arm, then smack it up with a hammer, while the nut is somewhat screwed on there to protect the threads. 21mm
Remove lower A arm nuts (3) 5/8"
Pop the whole hub assembly up, then pull to the right, and bungee it out of the way.
Which makes plenty of room for the transmission
Remove drivers side axle flange, there's an allen bolt in there, 6mm, and use a screwdriver to keep it from spinning, if yours is hard to remove, then avoid using the screwdriver so you don't damage the threads.
Do the same thing on the passenger side. I had to use a bunch of extensions so I can do it from the wheel well. Don't forget to mark them.
You may need to remove the heat shield out of the way. It's 5/8"
Remove the passenger side flange
I lost about 1/2 ounce of fluid when I pulled it out
Therefore plug the opening so you don't lose anymore, unless you plan on flushing it ($40/liter)
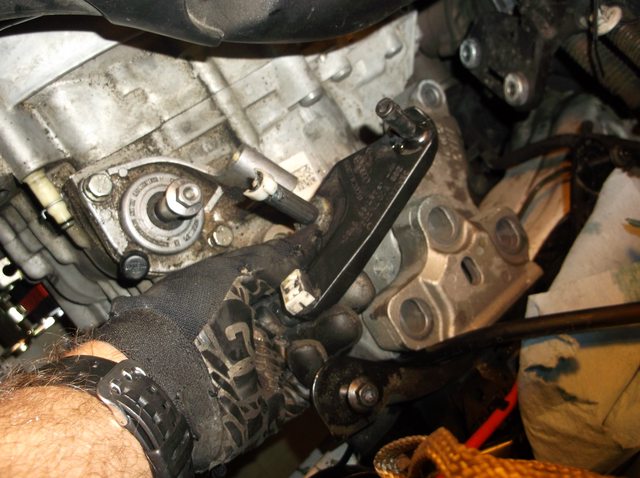
Remove driver's side engine mount, 18mm, bolts are also supposed to be non-reusable.
Pull out the plastic bracket
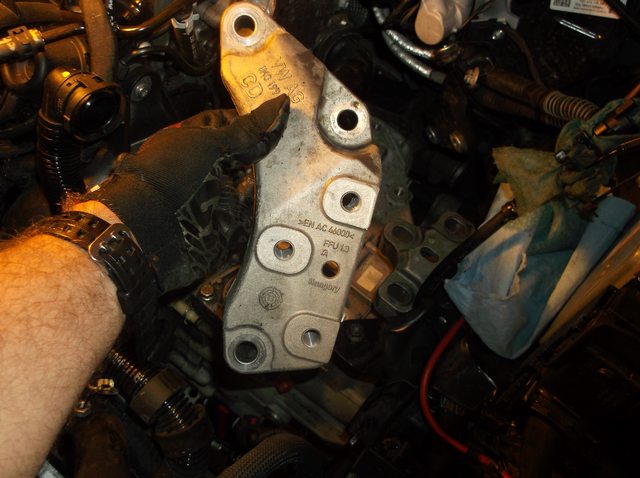
And the engine mount bracket
Remove the two bottom transmission bolts, 16mm (as you can see I got the transmission jack ready)
Secure the transmission to the jack (don't do it too tight, because there's not enough room, at least with my jack, to release the clamp if needed, like in my case, I ended up lowering the transmission with the jack a little bit, but then yanking it out by bench pressing it, that's why I said jack is optional. Might aid with install.
Remove the last bolt on the passenger side of transmission
After that remove the final transmission bolt on the front
Yank out the tranny, then infamously flip it off. Mine had to be slightly pried away, then it cam off relatively easy.
Remove the pressure plate bolts, they're 9mm. The guy in the video says it may spring off, so be careful.
There's the disk
Pressure plate
And the flywheel
Remove the throw out bearing bolts (3) They're 9mm 1/4" drive. They have loctite on them, so make sure you put some on for the new one.
Last edited:
")