Here is a simple DIY for updating your timing chain tensioner. This was done over the course of an afternoon with both myself and Eurocars.
I would not recommend doing this job without the factory tool to hold the cranckshaft (necessary to remove the crankshaft bolt), or a 1/2 impact gun. Removing the crankshaft bolt is very difficult without it. I would also not recommend doing this without very short triple square bits (necessary for removing the lower engine mount).
This is not an idiots guide, and if this makes you feel nervous, I would avoid doing the job yourself.
Remove noise pipe:

Pull off washer fluid fill tube:

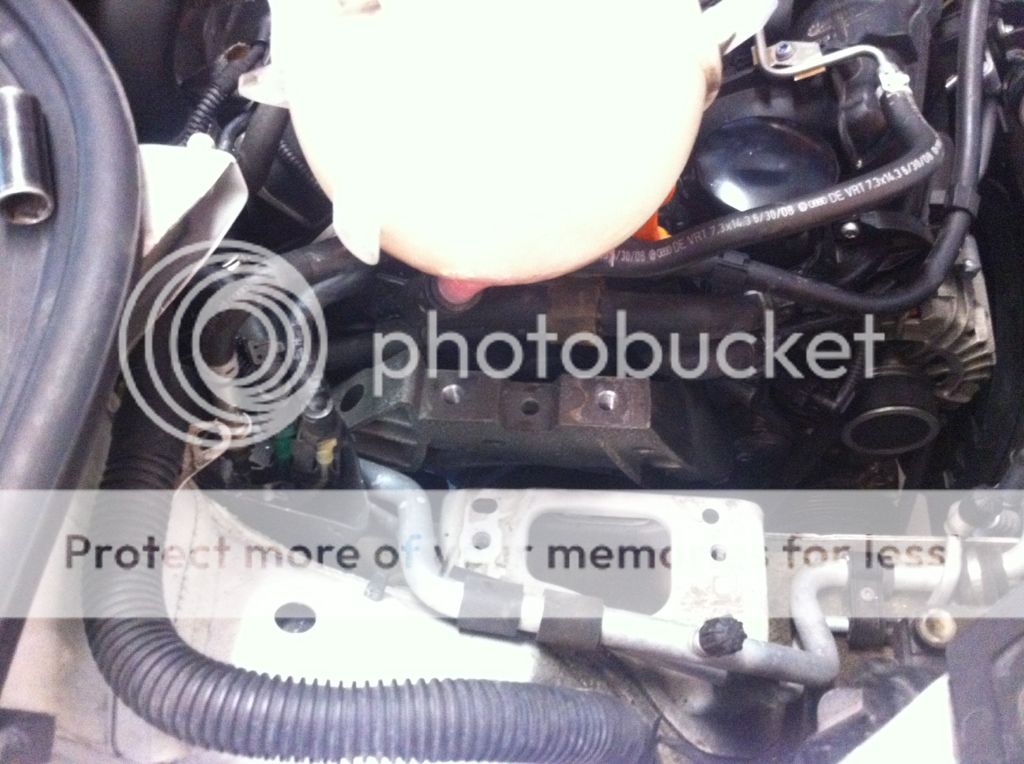
Unbolt the overflow tank and move it out of the way:


Pull the fender liner & remove Turbo outlet pipe:

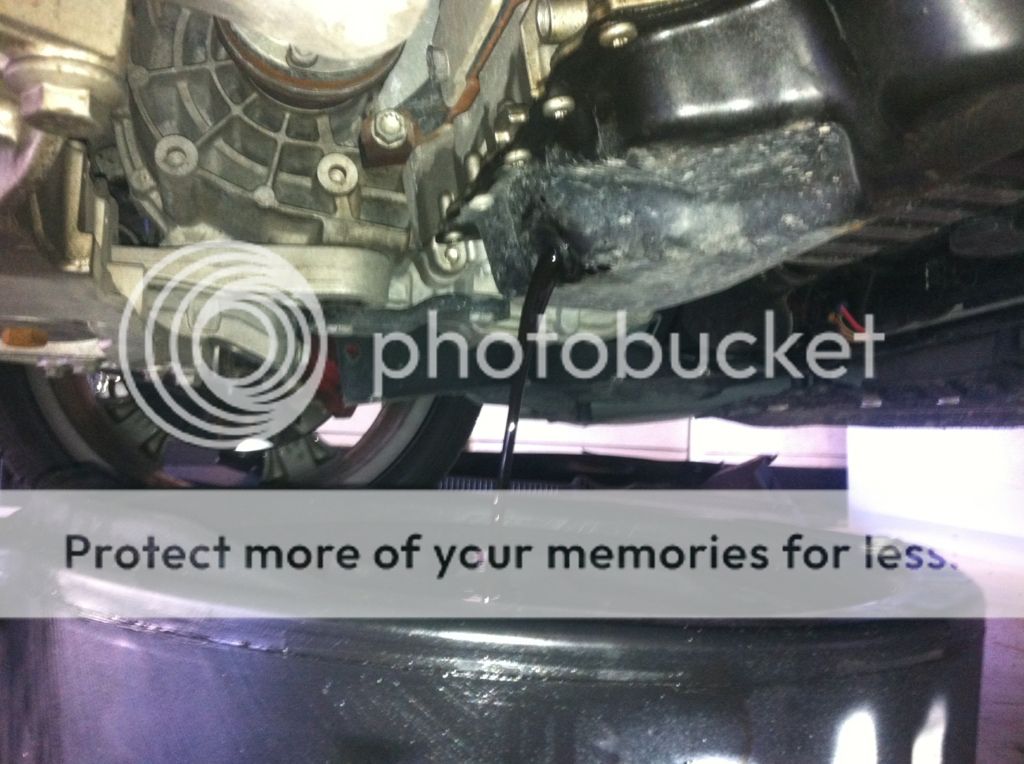
Drain Oil:
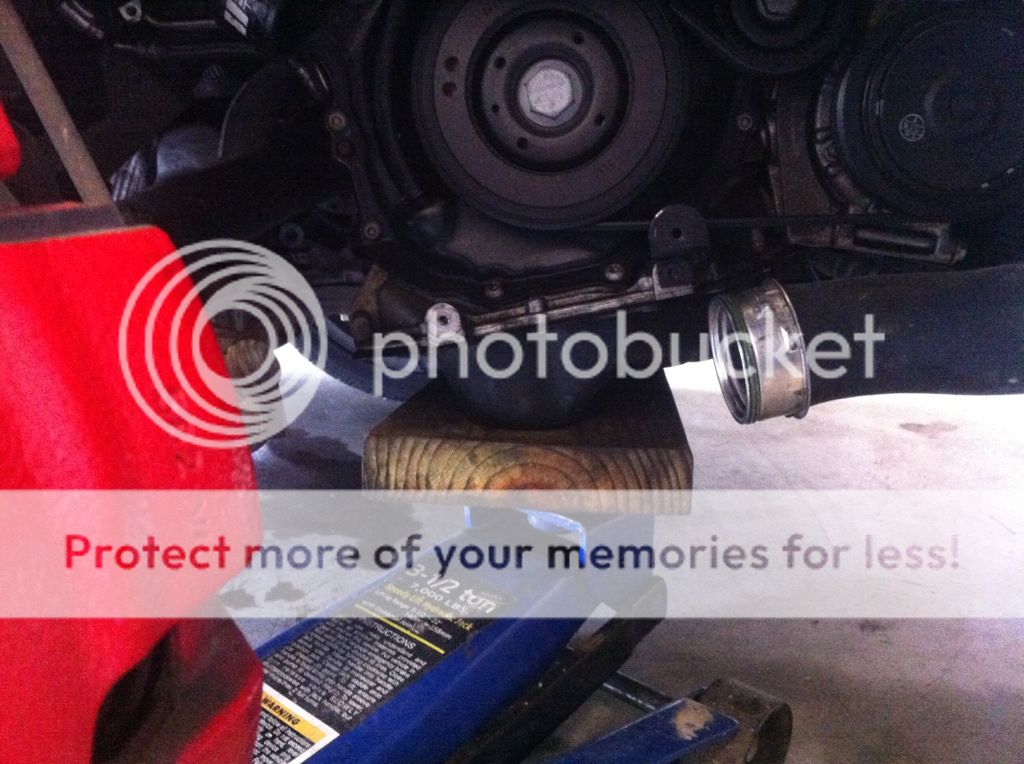
Support the engine with a jack and block of wood:
Remove passenger side engine mount:
Remove engine mount bracket: (going to need short triple squares here for the three bolts)

Remove dipstick: (2 torx screws)

Tape over dipstick hole to avoid debris entering the oil pan:

Remove serpentine belt:

The notch on the crank pulley will have to line up with the mark on the front cover: (this puts cylinder one to TDC)

Mark on crank pulley:

Remove crank pulley and unbolt front cover. There is one bolt underneath the serpentine belt tensioner that is quite difficult to get to. You have two options: remove the belt tensioner entirely, or (the much easier method), remove the pulley itself, and retract the tensioner to have enough clearence to get to the last bolt holding the cover on. Zip tie timing chain together and pull tensioner:

Install the new tensioner and pull the retaining clip to allow piston in the tensioner to push on the guide:

Special tool: We made this to hold the crankshaft in place. We ended up using this in conjunction with an impact gun to pull the bolt. There is a factory tool to do this, and it's pretty cheap.

Let me know if you guys have any questions and I'll do what I can to help.
I would not recommend doing this job without the factory tool to hold the cranckshaft (necessary to remove the crankshaft bolt), or a 1/2 impact gun. Removing the crankshaft bolt is very difficult without it. I would also not recommend doing this without very short triple square bits (necessary for removing the lower engine mount).
This is not an idiots guide, and if this makes you feel nervous, I would avoid doing the job yourself.
Remove noise pipe:
Pull off washer fluid fill tube:
Unbolt the overflow tank and move it out of the way:
Pull the fender liner & remove Turbo outlet pipe:
Drain Oil:
Support the engine with a jack and block of wood:
Remove passenger side engine mount:
Remove engine mount bracket: (going to need short triple squares here for the three bolts)
Remove dipstick: (2 torx screws)
Tape over dipstick hole to avoid debris entering the oil pan:
Remove serpentine belt:
The notch on the crank pulley will have to line up with the mark on the front cover: (this puts cylinder one to TDC)
Mark on crank pulley:
Remove crank pulley and unbolt front cover. There is one bolt underneath the serpentine belt tensioner that is quite difficult to get to. You have two options: remove the belt tensioner entirely, or (the much easier method), remove the pulley itself, and retract the tensioner to have enough clearence to get to the last bolt holding the cover on. Zip tie timing chain together and pull tensioner:
Install the new tensioner and pull the retaining clip to allow piston in the tensioner to push on the guide:
Special tool: We made this to hold the crankshaft in place. We ended up using this in conjunction with an impact gun to pull the bolt. There is a factory tool to do this, and it's pretty cheap.
Let me know if you guys have any questions and I'll do what I can to help.
Last edited:


