O.k., so youve deleted your noise pipe and removed the resonating canister behind the firewall and now youve got this ugly looking hole in your firewall right? Well heres the DIY to show you how to make that ugly hole go away, using only OEM parts. Instructions should be the same for FSI and TSI.
First you need this, its an OEM Audi firewall door, I ordered a few sets of them and were going to install one right now.
1K0-971-866-A (Firewall Gasket)
1K0-971-865-A (Firewall Gasket Clip)

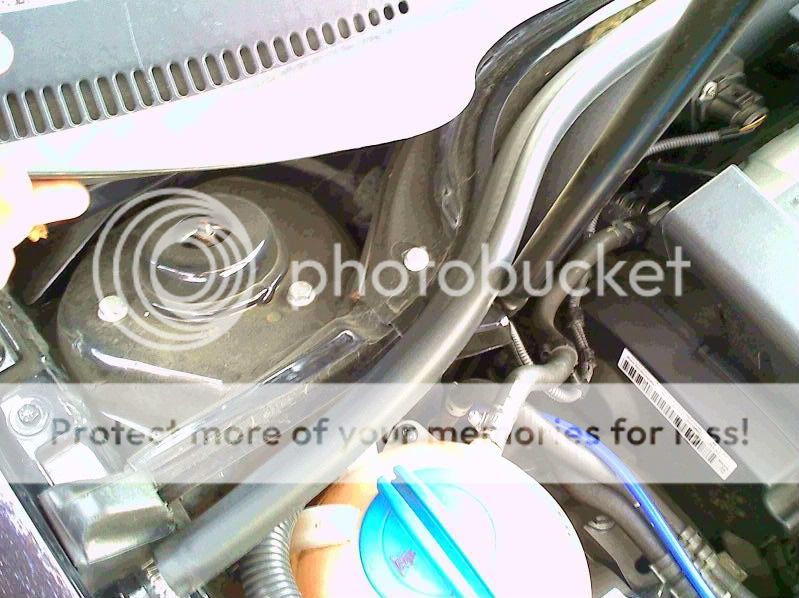
Heres the ugly hole that we start with, if youre reading this, yours probably looks similar, and hopefully not as dirty.

Now first youre going to pull back the weatherstripping that holds down the plastic cover at your firewall. Dont worry, its not glued and will go right back into place with almost no effort, feel free to have your grandma do this part for you. Then lift up on the plastic cover so you have access to behind the firewall. (If you havent removed the resonating cannister yet, now is the time, its just a few screws and its comes right out).
Now that you have access, you'll need to remove one bolt that fastens down the top of your firewall with a number 10 socket, (not those three on your strut tower, you need those.):wink:
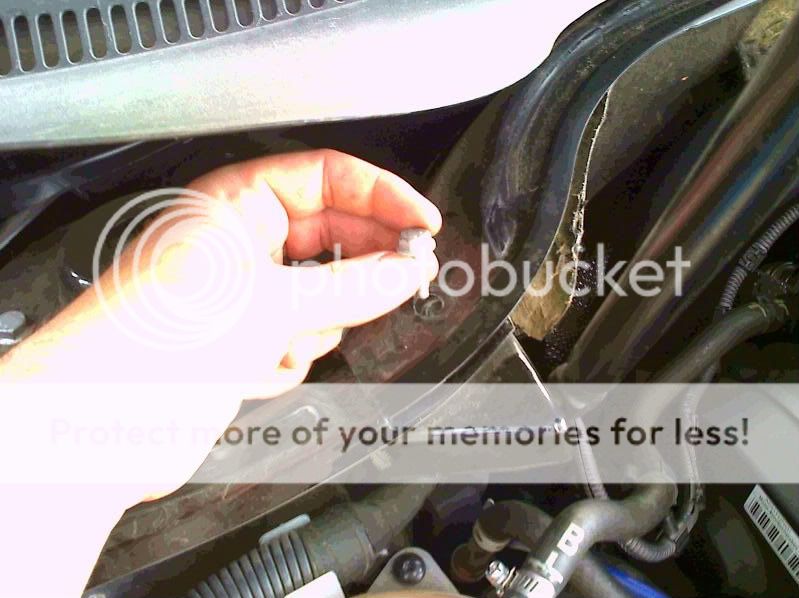
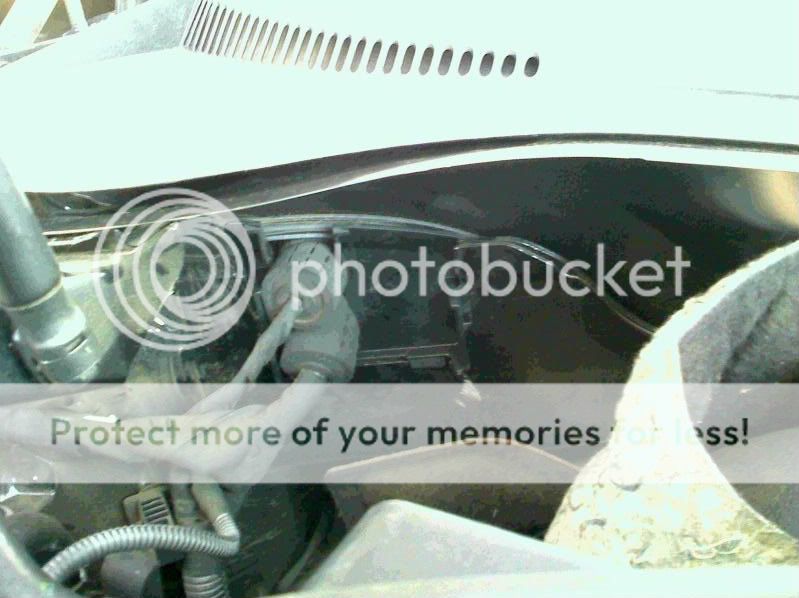
then lift up on it to be able to remove the VW firewall door. To remove your VW firewall door, you'll have to manuver around a few wires that go through your firewall and unclip your oem VW firewall door, its one clip on each side to seperate the two pieces, and once they seperate the smaller half can be slid upward and free from the car, this part shouldnt give you too much of a struggle.

and then next the larger piece can slid upward and free of the car. This part will give you a slight struggle, its in there tight and you'll have to get it around those two wire harnesses. It's o.k., youre a big boy and we're all rootin for ya.:happyanim:

Now that you have the old parts out, the first thing you'll probably do is place it right next to the new part, and you'll probably see something exactly like this.

Now toss the old piece asside and grab the new Audi firewall door. Seperate the two pieces, and this is the piece you'll be installing first.

Slide it in just as you removed the VW part, remembering to manuver around the wiring. This piece will give you a little bit of a struggle as well, its a tight fit and having the wires in your way only adds to the fustration. Dont give up champ, youre almost there, if you give up now, the girls will never ride in your unfinished project of a VW.
Now that youve got the large piece in, (and I knew you could), the smaller piece clips right in on top of it, and shouldnt give you too much trouble, after that clips in, just make sure your wire harness padding is situated where you want it and youre engine compartment should already be looking better! Not quite like an Audi, but youre one step closer.:wink:
Now just put everything back together. Fasten down the bolt you removed, put your weatherstripping back in place and wash your hands you filthy kid!
Heres what my money shot looks like.:thumbsup:

Total time taken was about 15-20 minutes, even with taking pictures and losing my number 10 socket on my control arm for a bit. Its not difficult but is by no means as easy or as expensive as pumping gas.
First you need this, its an OEM Audi firewall door, I ordered a few sets of them and were going to install one right now.
1K0-971-866-A (Firewall Gasket)
1K0-971-865-A (Firewall Gasket Clip)
Heres the ugly hole that we start with, if youre reading this, yours probably looks similar, and hopefully not as dirty.
Now first youre going to pull back the weatherstripping that holds down the plastic cover at your firewall. Dont worry, its not glued and will go right back into place with almost no effort, feel free to have your grandma do this part for you. Then lift up on the plastic cover so you have access to behind the firewall. (If you havent removed the resonating cannister yet, now is the time, its just a few screws and its comes right out).
Now that you have access, you'll need to remove one bolt that fastens down the top of your firewall with a number 10 socket, (not those three on your strut tower, you need those.):wink:
then lift up on it to be able to remove the VW firewall door. To remove your VW firewall door, you'll have to manuver around a few wires that go through your firewall and unclip your oem VW firewall door, its one clip on each side to seperate the two pieces, and once they seperate the smaller half can be slid upward and free from the car, this part shouldnt give you too much of a struggle.
and then next the larger piece can slid upward and free of the car. This part will give you a slight struggle, its in there tight and you'll have to get it around those two wire harnesses. It's o.k., youre a big boy and we're all rootin for ya.:happyanim:
Now that you have the old parts out, the first thing you'll probably do is place it right next to the new part, and you'll probably see something exactly like this.
Now toss the old piece asside and grab the new Audi firewall door. Seperate the two pieces, and this is the piece you'll be installing first.
Slide it in just as you removed the VW part, remembering to manuver around the wiring. This piece will give you a little bit of a struggle as well, its a tight fit and having the wires in your way only adds to the fustration. Dont give up champ, youre almost there, if you give up now, the girls will never ride in your unfinished project of a VW.
Now that youve got the large piece in, (and I knew you could), the smaller piece clips right in on top of it, and shouldnt give you too much trouble, after that clips in, just make sure your wire harness padding is situated where you want it and youre engine compartment should already be looking better! Not quite like an Audi, but youre one step closer.:wink:
Now just put everything back together. Fasten down the bolt you removed, put your weatherstripping back in place and wash your hands you filthy kid!
Heres what my money shot looks like.:thumbsup:
Total time taken was about 15-20 minutes, even with taking pictures and losing my number 10 socket on my control arm for a bit. Its not difficult but is by no means as easy or as expensive as pumping gas.
Last edited: