eurocars
5/17/15 - Never forget
- Location
- Indianapolis
- Car(s)
- 2006 GTI
So, i got bored today and decided that since i had to get a nasty rock chip resprayed on my front end that i would prep my sidemarkers to be sprayed when it goes in. I took pictures of the steps i took when shaving my sidemarkers, and hopefully this helps someone else out with the guts to diy. Yes, the camera sucks. I had to borrow it from my stepmom as i'm visiting my dad for the holidays and i didn't have my own camera. As per most diy's, i do not assume any responsibility if you fuck up. Your problem, not mine. Onto the pics:
Before you get started, remove the bumper. Its fairly simple, and held in by torx screws in the fenderwell, the fog grilles, the foglights themselves, the grill, the wires attatched to the sidemarkers, the hoses for the headlight washers (if applicable) and probably some other stuff. I dont know where to find a diy for its removal, but if someone needs help either try google or pm me.
Here's what i started with; plain colormatched sidemarkers

Removal of the sidemarkers is fairly simple. Just push on the end closest to the front of the bumper and they will tilt inwards. Then pull out.

As you can see, they are raised a bit above the surface of the bumper. They will need to be sanded down until they are recessed into the surface of the bumper. That part sucks.

Sand down the area around the locking tab and around the notch that sits on the bumper. I left the sidemarkers in so you can see what i'm talking about. They need to be sanded because later they will be epoxied in place and they need a good surface to adhere to.
Now remove the sidemarkers and sand them down. At first, i was going to sand them to the top of the locking tab, but found out that it would be taking too much material off. YOU CAN SAND THEM DOWN TOO FAR AND THE HONEYCOMB WILL COLLAPSE. Tapping on the face of the sidemarker while sanding helps to make sire that you still have a solid surface. Sand until you have about 1/8" above the the locking tab. Try fitting them into the bumper every so often to check that they have been sanded enough that they sit recessed into the surface of the bumper. I found that it takes about 10 min of sanding with an orbital sander and 60 grit sandpaper. The plastic is freakishly strong.
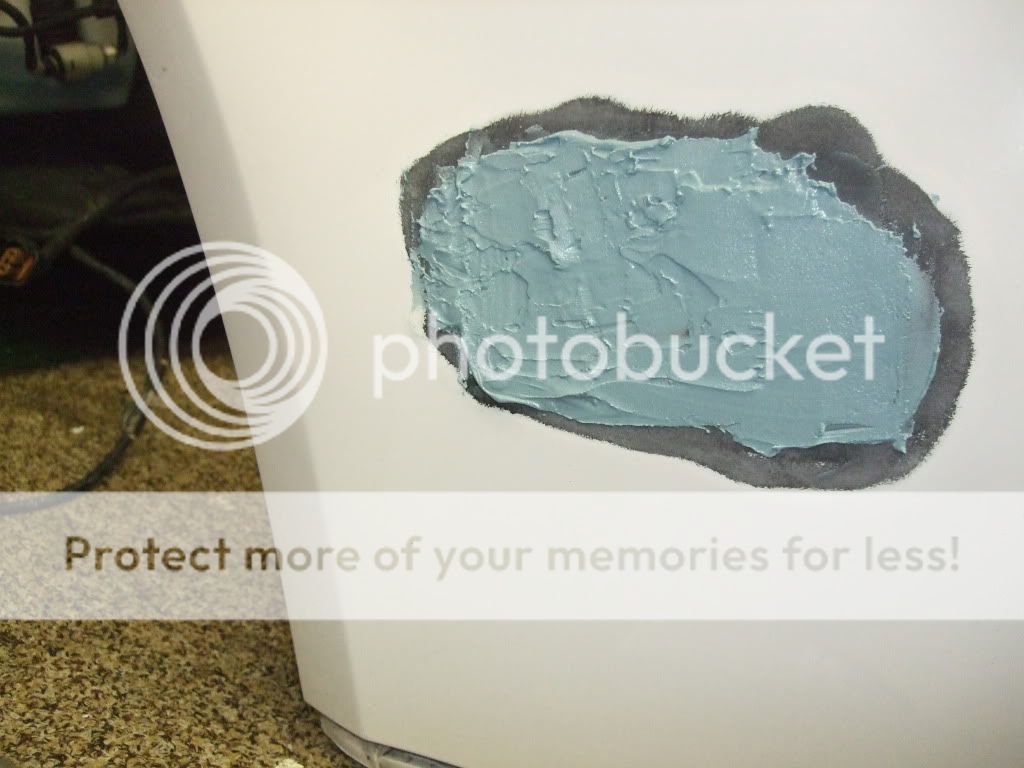
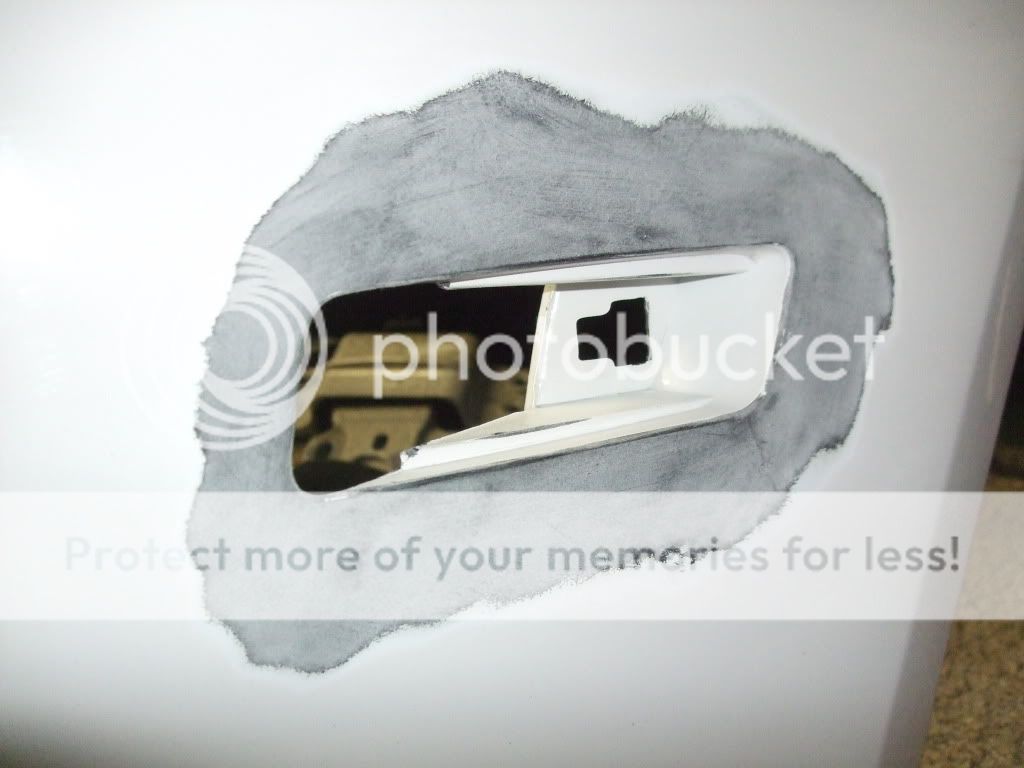
Now you can begin prepping the surface around the sidemarker mounting hole. I used the same orbital sander but switched to 200 grit sandpaper. Slower is better in this case because you do not want to take off any material, just the paint. make sure that you sand partially inside the hole because later you will be applying filler to it and it wont stick to a painted surface very well. make sure that you give yourself a wide area around the hole so that you have room to work with the filler.


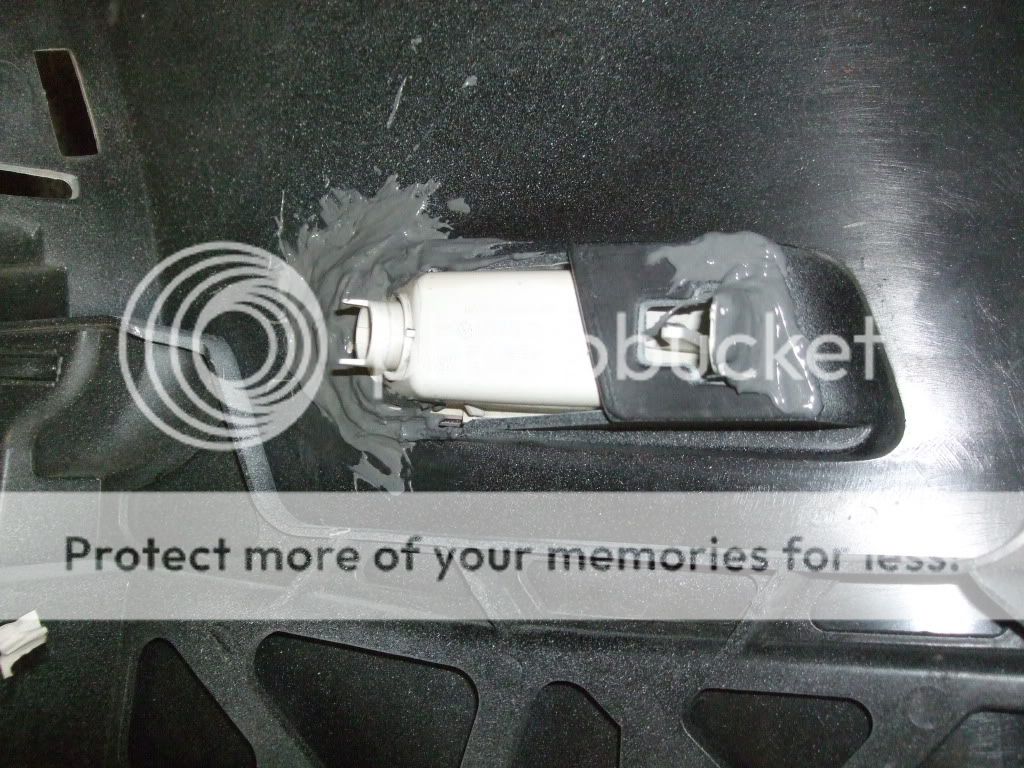
After cleaning the unpainted plastic on the backside of the bumper as well as the sidemarker itself, you can mount the sidemarker back into position. Confirm that it still sits below the surface of the bumper. I had to take mine out again and sand a small portion away. Once everything is cleaned and seated correctly, take your favorite two-part epoxy (i chose jb weld) and epoxy the sidemarker into place. This is so that when you go to fill it/during its operation, it will not move around. Apply the epoxy liberally. You cant really use enough. Now allow it to dry. I let mine sit overnight just to make sure that it sets well.

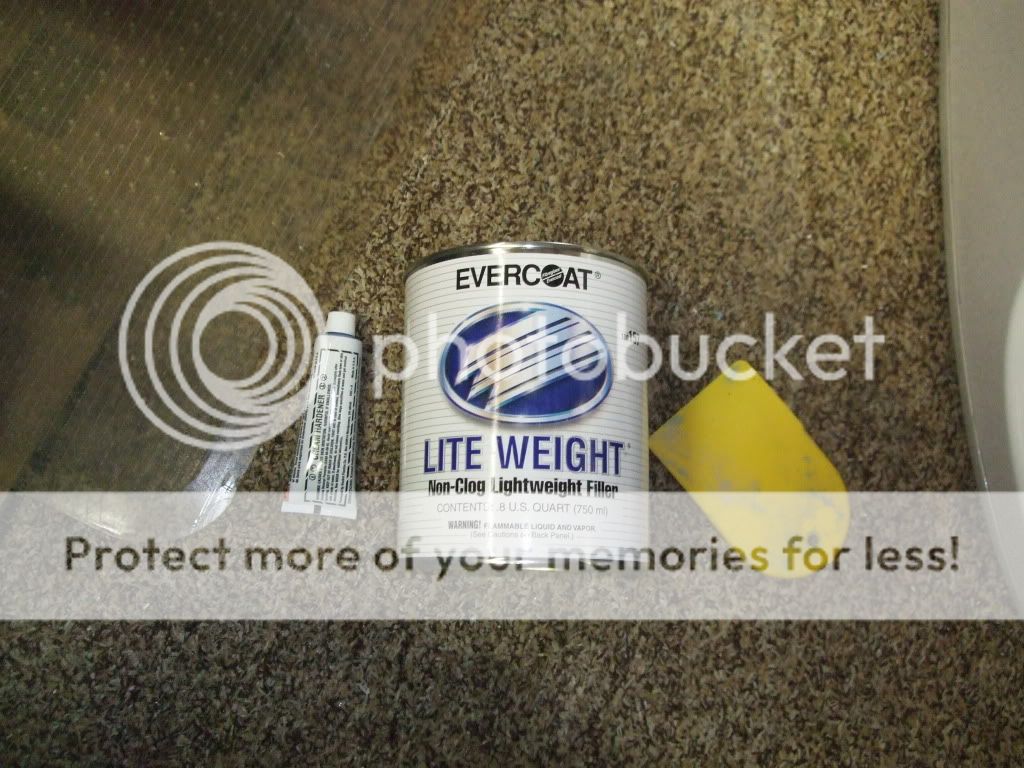
I will update with more pics tmw. Hard to find any place that sells body filler on xmas.
Before you get started, remove the bumper. Its fairly simple, and held in by torx screws in the fenderwell, the fog grilles, the foglights themselves, the grill, the wires attatched to the sidemarkers, the hoses for the headlight washers (if applicable) and probably some other stuff. I dont know where to find a diy for its removal, but if someone needs help either try google or pm me.
Here's what i started with; plain colormatched sidemarkers
Removal of the sidemarkers is fairly simple. Just push on the end closest to the front of the bumper and they will tilt inwards. Then pull out.
As you can see, they are raised a bit above the surface of the bumper. They will need to be sanded down until they are recessed into the surface of the bumper. That part sucks.
Sand down the area around the locking tab and around the notch that sits on the bumper. I left the sidemarkers in so you can see what i'm talking about. They need to be sanded because later they will be epoxied in place and they need a good surface to adhere to.
Now remove the sidemarkers and sand them down. At first, i was going to sand them to the top of the locking tab, but found out that it would be taking too much material off. YOU CAN SAND THEM DOWN TOO FAR AND THE HONEYCOMB WILL COLLAPSE. Tapping on the face of the sidemarker while sanding helps to make sire that you still have a solid surface. Sand until you have about 1/8" above the the locking tab. Try fitting them into the bumper every so often to check that they have been sanded enough that they sit recessed into the surface of the bumper. I found that it takes about 10 min of sanding with an orbital sander and 60 grit sandpaper. The plastic is freakishly strong.
Now you can begin prepping the surface around the sidemarker mounting hole. I used the same orbital sander but switched to 200 grit sandpaper. Slower is better in this case because you do not want to take off any material, just the paint. make sure that you sand partially inside the hole because later you will be applying filler to it and it wont stick to a painted surface very well. make sure that you give yourself a wide area around the hole so that you have room to work with the filler.
After cleaning the unpainted plastic on the backside of the bumper as well as the sidemarker itself, you can mount the sidemarker back into position. Confirm that it still sits below the surface of the bumper. I had to take mine out again and sand a small portion away. Once everything is cleaned and seated correctly, take your favorite two-part epoxy (i chose jb weld) and epoxy the sidemarker into place. This is so that when you go to fill it/during its operation, it will not move around. Apply the epoxy liberally. You cant really use enough. Now allow it to dry. I let mine sit overnight just to make sure that it sets well.
I will update with more pics tmw. Hard to find any place that sells body filler on xmas.
Last edited: