Hey guys,
Todays detail write up is on a roughly 2 month old e92 M3 which was lightly swirled, but with the the color being Jerez Black, in the sun the swirls stuck out like a sore thumb.
This detail was supposed to happen at a later date but with the owner about to lower it I was a bit scared that she might not be able to make it up the hill on my driveway. Luckily I had an earlier opening and I was able to work on the car the day before it got lowered.
Anyway on to the write up, hope you enjoy the show.
So here she is.


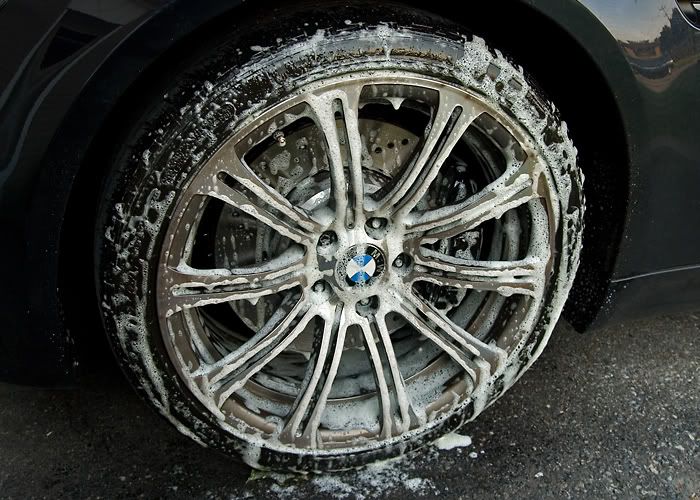
Started with my usual routine beginning at the wheels.
Soaked the rims and tires in P21s Wheel Cleaner Gel version. This stuff is great because it is non-acidic making it safe for ceramic brakes, polished or anodized rims, etc.
After going around the car I came back to my first rim and started working the inner rim with my EZ-Brush.

Dirt agitated.

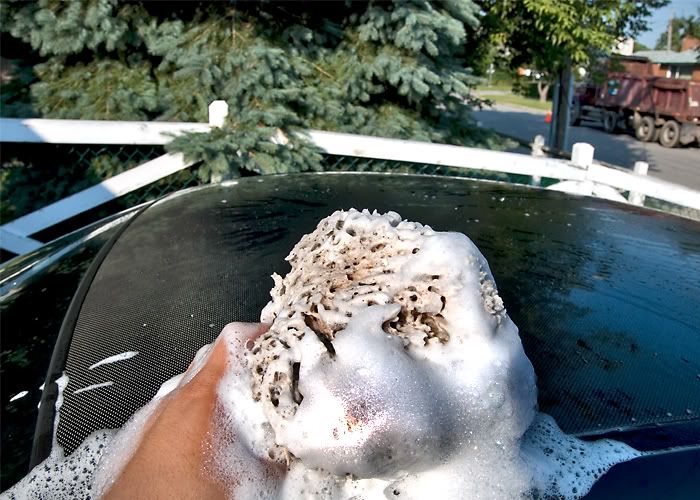
Cleaned the face and inbetween with a microfibre mitt.

And all clean.

I also cleaned the fairly new Akrapovic Exhaust.

Still a little wet but looking very sexy none the less.

Finally with all of that out of the way I began to rinse down the car.

I noticed some beading and with this being a fairly new car I suspected that the dealer had put their "protection" on it wither it be a sealant or wax. In general though most dealer's products contain silicones which when it comes to polishing if not stripped off can be a huge hindrance to the correction of the paint because when you begin to polish rather than correct and cut into the paint it creates a sort of hydroplaning effect.
So out came the Prep Wash cut 50/50 with water which is a silicone remover.

So with the Prep Wash dwelling on the paint. I began to wash the car using the 2 bucket method(left soapy water/right clean water for rinsing my mitt every panel), Chemical Guys Citrus Wash and Gloss, and a Natural Sea Sponge.

Dried off the car with my trusty waffle weave towels(these things are great because of the absorbency which is much better then regular leather or synthetic chamios).

And then pulled it into my garage to start the claying with yellow Riccardo Clay.


A little bit dirty for a 2 month old car.

After claying I took some measurements of the whole car with my paint depth gauge in microns and found everything to be pretty healthy with no signs of repaint.


So now the fun begins. With the way the swirls were looking I was not expecting to do anything more then a 1 stage polish.
Tools and product for the day were my Flex 3401, Lake Country Green Pads, and Menzerna Power Finish.
Here are the before and after results.
Before

After

Before

After(forgive me, until looking at the picture afterwards I realize I didn't wipe off all of the polishing residue which you can see close to the bottom right corner)

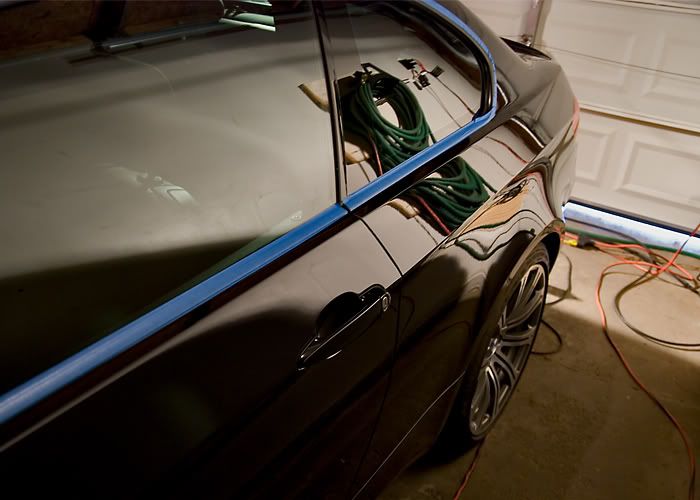
Driver's side done and looking very glossy already with no wax. Also I forgot to mention that I masked off trim with blue painters tape and was doing this as I went along.
Before

After
Before

After

With the polishing finished I unmasked the car.


Cleaned off the polishing oils using IPA Alcohol cut 50/50 with water and a plush microfibre.


Checked over my work with my 3M Sun Gun which is 99.3% similar to the sun.

Jerez Black looking like how it's suppose to look... perfect.

Protected the finish with Swissvax Concorso wax.

While the wax was curing I dressed the tires with Blackfire Long Lasting Tyre Gel and cleaned the windows with my Glass master Pro and the new Stoners Invisible Glass with rain repellant.
And now the eye candy.
Clean Akrapovic Exhaust.


Reflection shot on the carbonfibre roof.
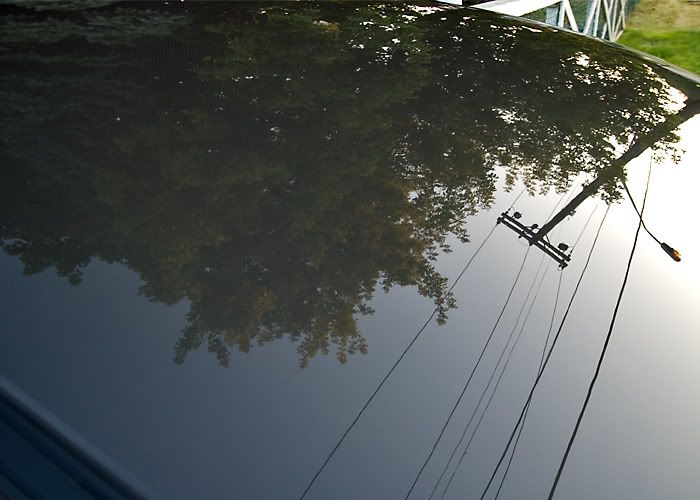
Closer shot of the weave.

Carbonfibre side grills

lol, I'm trying to be artsy fartsy with this shot.


lol pt.2, there is no purpose to this shot I'm just trying to be artsy fartsy again. Ruji eat your heart out Wes_R is coming.
Carbonfibre front grill and didn't take pics of it but carbonfibre emblems also.


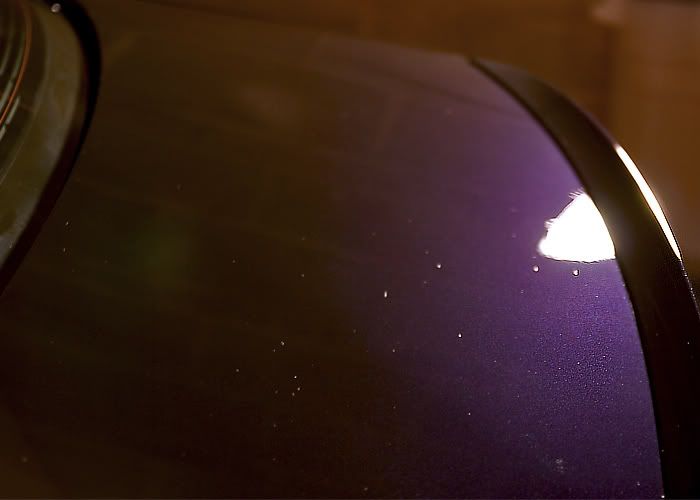
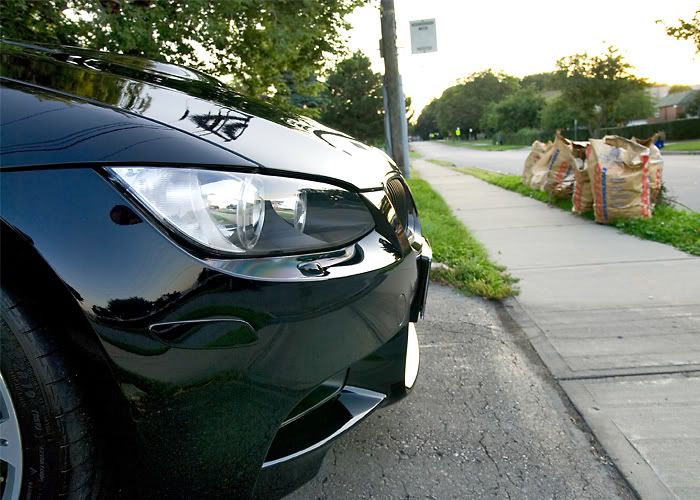
Another shot of the hood which I thought looked really cool.


And another shot of the roof which I also thought looked really cool.

And to complete the the full 360 walk around, the last pic.

Thank you for reading I hope you enjoyed it and all comments are welcome.
") Cheers,
Cheers,
Wes
Todays detail write up is on a roughly 2 month old e92 M3 which was lightly swirled, but with the the color being Jerez Black, in the sun the swirls stuck out like a sore thumb.
This detail was supposed to happen at a later date but with the owner about to lower it I was a bit scared that she might not be able to make it up the hill on my driveway. Luckily I had an earlier opening and I was able to work on the car the day before it got lowered.
Anyway on to the write up, hope you enjoy the show.
So here she is.
Started with my usual routine beginning at the wheels.
Soaked the rims and tires in P21s Wheel Cleaner Gel version. This stuff is great because it is non-acidic making it safe for ceramic brakes, polished or anodized rims, etc.
After going around the car I came back to my first rim and started working the inner rim with my EZ-Brush.
Dirt agitated.
Cleaned the face and inbetween with a microfibre mitt.
And all clean.
I also cleaned the fairly new Akrapovic Exhaust.
Still a little wet but looking very sexy none the less.
Finally with all of that out of the way I began to rinse down the car.
I noticed some beading and with this being a fairly new car I suspected that the dealer had put their "protection" on it wither it be a sealant or wax. In general though most dealer's products contain silicones which when it comes to polishing if not stripped off can be a huge hindrance to the correction of the paint because when you begin to polish rather than correct and cut into the paint it creates a sort of hydroplaning effect.
So out came the Prep Wash cut 50/50 with water which is a silicone remover.
So with the Prep Wash dwelling on the paint. I began to wash the car using the 2 bucket method(left soapy water/right clean water for rinsing my mitt every panel), Chemical Guys Citrus Wash and Gloss, and a Natural Sea Sponge.
Dried off the car with my trusty waffle weave towels(these things are great because of the absorbency which is much better then regular leather or synthetic chamios).
And then pulled it into my garage to start the claying with yellow Riccardo Clay.
A little bit dirty for a 2 month old car.
After claying I took some measurements of the whole car with my paint depth gauge in microns and found everything to be pretty healthy with no signs of repaint.
So now the fun begins. With the way the swirls were looking I was not expecting to do anything more then a 1 stage polish.
Tools and product for the day were my Flex 3401, Lake Country Green Pads, and Menzerna Power Finish.
Here are the before and after results.
Before
After
Before
After(forgive me, until looking at the picture afterwards I realize I didn't wipe off all of the polishing residue which you can see close to the bottom right corner)
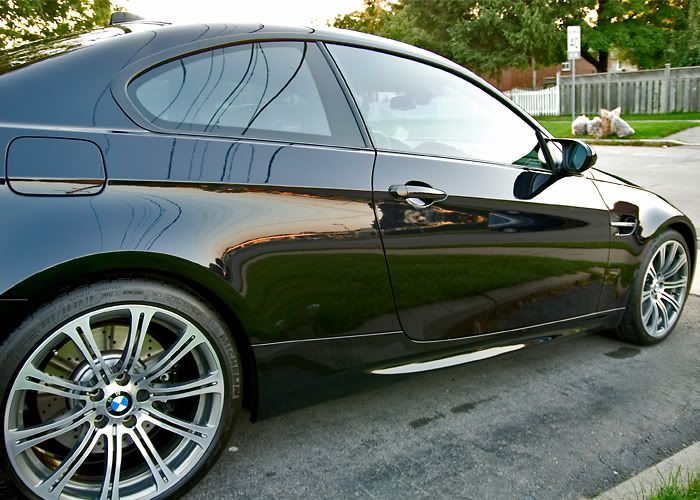
Driver's side done and looking very glossy already with no wax. Also I forgot to mention that I masked off trim with blue painters tape and was doing this as I went along.
Before
After
Before
After
With the polishing finished I unmasked the car.
Cleaned off the polishing oils using IPA Alcohol cut 50/50 with water and a plush microfibre.
Checked over my work with my 3M Sun Gun which is 99.3% similar to the sun.
Jerez Black looking like how it's suppose to look... perfect.
Protected the finish with Swissvax Concorso wax.
While the wax was curing I dressed the tires with Blackfire Long Lasting Tyre Gel and cleaned the windows with my Glass master Pro and the new Stoners Invisible Glass with rain repellant.
And now the eye candy.
Clean Akrapovic Exhaust.
Reflection shot on the carbonfibre roof.
Closer shot of the weave.
Carbonfibre side grills
lol, I'm trying to be artsy fartsy with this shot.
lol pt.2, there is no purpose to this shot I'm just trying to be artsy fartsy again. Ruji eat your heart out Wes_R is coming.
Carbonfibre front grill and didn't take pics of it but carbonfibre emblems also.
Another shot of the hood which I thought looked really cool.
And another shot of the roof which I also thought looked really cool.
And to complete the the full 360 walk around, the last pic.
Thank you for reading I hope you enjoyed it and all comments are welcome.
Cheers,Wes