1.13.09 - Hatch tail light mod.
Well I was spurred on by the DIY that was recently posted here on mkv about adding bulbs to the middle, or hatch tail lights. Since they technically don't function as tail lights, and rather only come on as reverse lights, I thought it would be a cool mod to try. Besides that, only MKV folks will even notice. That's one of my main reasons for doing it. I'll see how many folks notice at meets and GTG's this coming summer season. Should be a trip.
Anyway, this mod cost me a total of zero dollars. I already had all the parts and tools I needed at home or at work so I didn't spend a dime.
I'll detail the process as best I as I can. I didn't run the wires in the interior yet so that won't be included in the DIY yet. Once I do that part I'll update with some more pics.
Parts/Tools needed:
10mm open ended wrench
Drill bit (slightly larger than a wedge bulb)
Silicone sealant
Shrink tube
Cable ties
Wedge bulbs (quantity 4)
Wire
Solder and soldering iron
Phillips screw driver
The process:
First thing is first, you have to get the tail light out of the vehicle. To do this you pop off the two squarish trim bits on the hatch behind the tail lights. Once those are off, unplug the reverse light bulbs and then twist the bulbs and they pop out. There's two 10mm nuts on the back of the tail lights, remove those, and then pull the tail light out.
And, voila:
After the tails are out, you have to remove the 3 phillips screws in the back that hold on the silver reflector for the reverse bulb. Once that's off you need to mark where you want the holes for the bulbs. A good idea is to put the tail light back in and try to follow the lines from the outer tails. Also, make sure you mark them symmetrically on both tails or you will be able to tell the difference once they are installed.
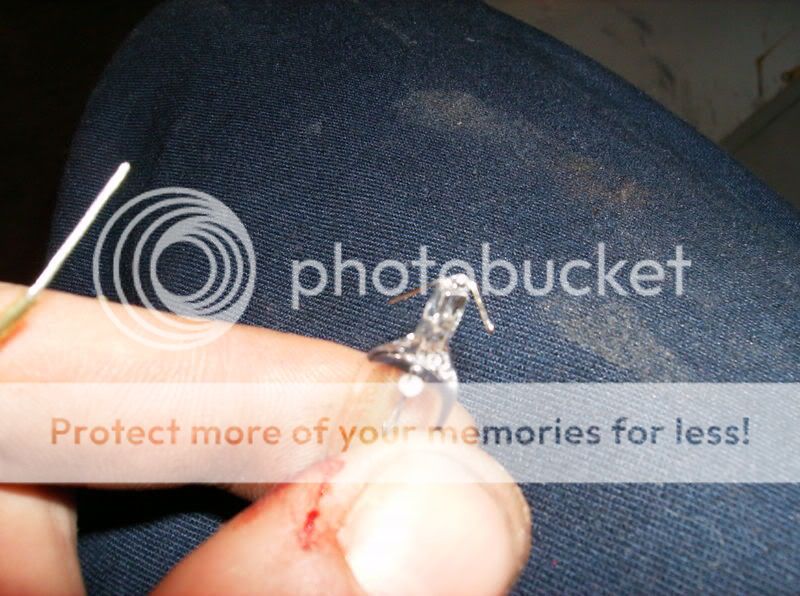
Once you have the tails marked, make sure to drill upside down and go slow. If you drill down the little shavings will go into the tail light and are a MAJOR pain in the ass to get out. By going slow it actually makes the shavings stay in one long string instead of breaking apart leaving a chance of getting in the housing.
Here's how it looks with the holes drilled:
Now it's time to work with the bulb. I used regular wedge bulbs because they are easy to wire and cost next to nothing. I started by taking a regular bulb and then bending the wires up a bit and threading through that. You don't need to attach too much wire, just enough on both lights so you can solder them together and add a plug for easy removal and bulb replacement.
Then I took my trusty solder iron and soldered the wires to keep everything held in place and secure.
The next step is secure the bulbs in the tail housing. I placed the bulb in the hole I drilled and then put silicon around it, making sure to cover the wiring to avoid any shorts or exposure of bare wire/solder. The silicone also keeps out any moisture or dirt.
Some pictars:
After the silicone dried enough I tied the two bulbs together into 1 wire so I could hook up the plug. I used shrink wrap after soldering the wires together to keep it clean. I also used cable ties to attach the wiring to the post for the bolt to keep everything secure. I left about 6 inches of wire after the solder joint and attached the plug. I don't have a picture of the plug, but I just used an old tamiya R/C plug I had laying around. You can use any plug you wish as long as it's protected and holds securely.
Next was testing phase. I used a 12v power supply at work to test them out. You can also use a computer power supply to test them out. The second picture was after the first one was done in my den at home.
The next step I don't have any pictures of, but you'll see what I'm talking about. When you go to put the silver reflector piece back on, it will hit the bulb/silicone. You'll have to take a razor knife, drill bit, or snips and trim it so it sits flush with the housing.
After that you're basically done. As long as the silicone is dry, the tails are ready to go back in the car. The install process is the same as the removal, but be careful. On the outside bulb if too much silicone or the bulb sticks out too far it can hit on the sheet metal behind it. If this happens either drill a hole in the sheet metal, or get the bulb to sit farther into the housing.
For now mine are just ran down the side of the hatch and through the holes where the rubber grommets and wiring goes from the hatch door to the car. That's as far as I could sanely get in near zero temperatures. I wanted to see how they would look so I took an old battery charger I had and lopped off the cigarette lighter plug. I plugged it into the rear cigarette lighter outlet and then hooked it up to the wire I ran for the lights. Good chance for a photo op. :headbang:
As you can see it sort of looks like the outside lights are a bit brighter. In person though, they look pretty much identical. No resistors needed. I was happy about that. :happyanim:

")