Meat
rack rack 'em
- Location
- Cincinnati, OH
- Car(s)
- 2007 GTI [DSG]
Meat's Brake DIY (w/ thanks to Dan GSR)
DISCLAIMER: Neither I nor any other members who have lent their advice or expertise to the writing of this DIY take any responsibility for any damage to personal property or injury to yourself...
Tools needed:
- 2 ton Jack and jack stands (preferably 4)
- 17mm deep socket or 17mm socket with extension (for lug nuts)
- torque wrench (optional-to tighten lugs to spec)
- 13 mm socket (or wrench)
- 21 mm socket
- 15 mm wrench
- M14 triple square bit. I recommend these: http://www.amazon.com/Pc-XZN-Bit-Dr..._2?ie=UTF8&s=automotive&qid=1219184466&sr=8-2
- T30 bit or driver
- Socket wrench with a breaker-bar
- Piston reset tool, available to rent from AutoZone or buy it here: http://www.metalnerd.com/cat08.htm
- Anti-squeal paste
- Brake and caliper grease
- 7 mm allen key
- pliers
Rear Brake Pads and Rotors
****If you are only going to swap pads, skip steps 4-6****
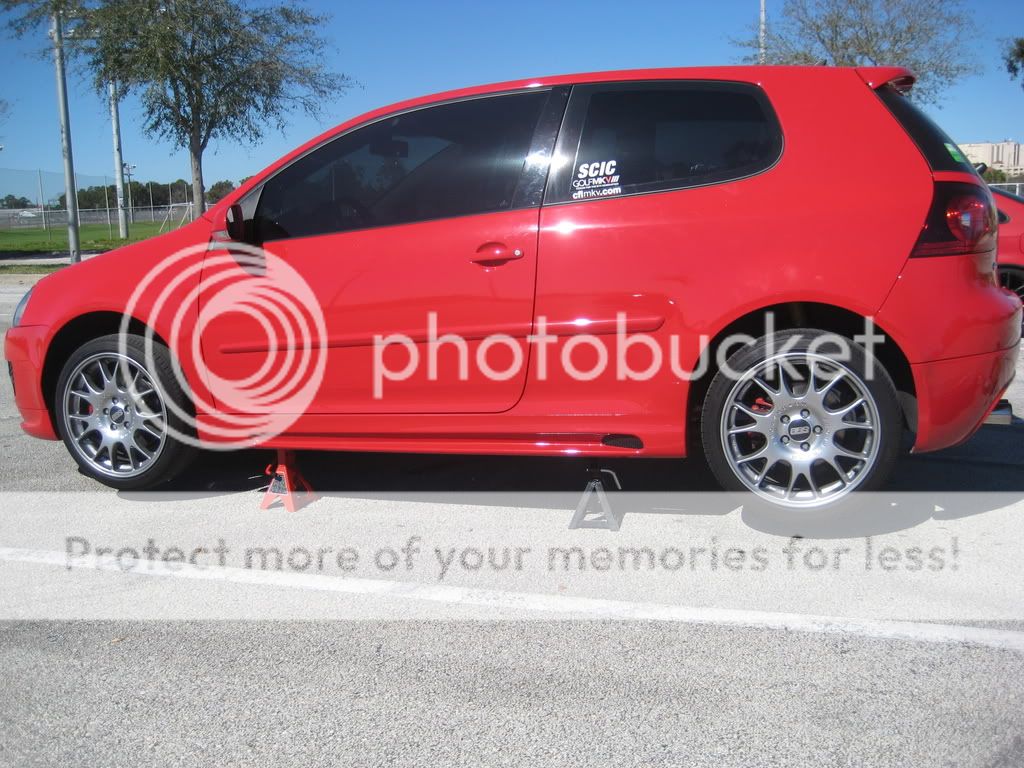
1. Loosen all lug nuts. Jack up car and remove wheels, always use jack stands, NEVER work on a car supported by only a jack
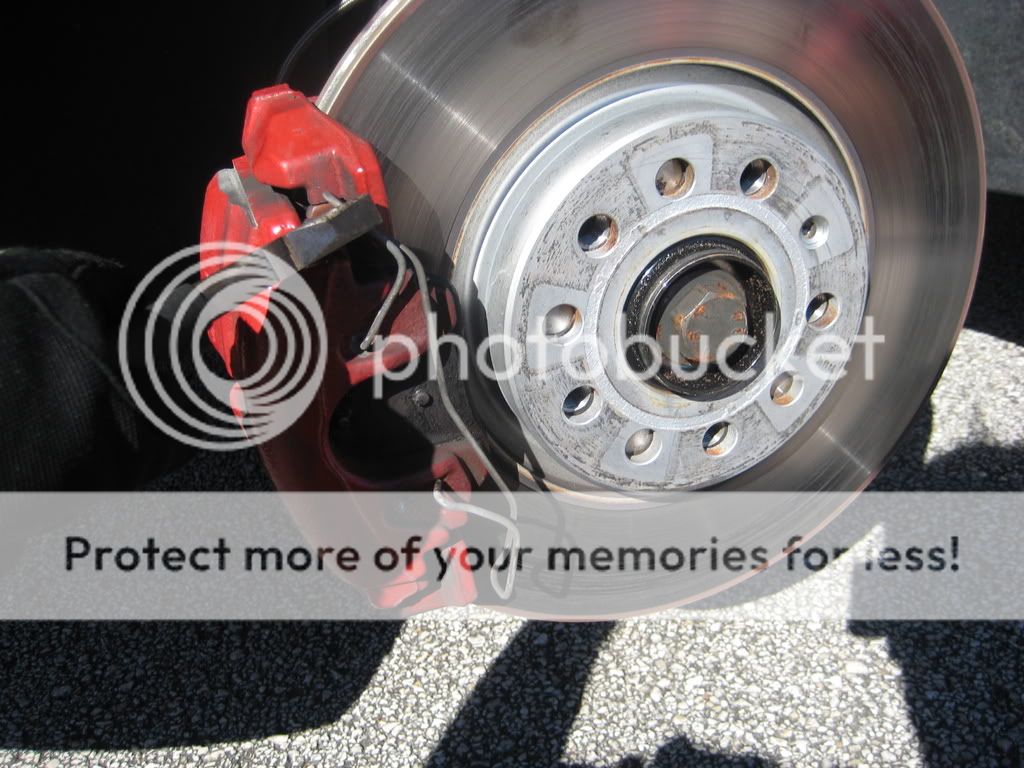
2. Remove the two bolts from back of the caliper using 13 mm and 15 mm wrenches

3. Remove the caliper, rest it on a jack or zip-tie it up so that the lines don’t stretch

4. Remove the two bolts holding on the carrier using an M14 twelve point bit.

5. Remove the carrier and remove the old pads from it. Set it aside.

6. Using a T30 bit, remove the screw holding on the rotor and remove the rotor

7. Sparingly apply some anti-squeal paste to the back of the pads, be sure to not let ANY of it touch the surface of the rotors or pads. Spread it with a plastic shopping bag or other clean-disposable spreader

8. Place the pads in the slots in the carrier
9. Replace the rotor and bolt the carrier back on, place some grease on the carrier bolts
10. Using the piston resetting tool, compress the piston as far as possible

11. Slide the caliper onto the carrier and bolt the caliper back on

12. Check all of the bolts to make sure that they are tight. Make sure that your lines are not leaking at the fittings, and make sure that the rotors are clean. You can spray them with Brake Cleaner to make sure, but do not let the brake cleaner touch the brake pads
13. Repeat for the other side.
Front Brake Pads and Rotors
****If you are only going to swap pads, skip steps 4-6****
1. Remove the metal clip holding the front caliper to the carrier using a large flathead screwdriver or pliers
2. Remove the black plastic caps covering the bolt that hold the caliper on. Using a 7 mm allen wrench, remove both of the bolts.

3. Remove and secure the caliper so that the lines aren’t stretched

4. Using a 21 mm socket, remove the bolts that hold on the carrier

5. Then remove the carrier and the screw that holds the rotor on, remove the old pad from the carrier
6. Replace the rotor and the screw that holds it on, then lightly grease the carrier bolts and bolt the carrier back on
7. Pull the old inboard pad off of the caliper
8. Sparingly apply some anti-squeal paste to the back of the outboard pad, be sure to not let ANY of it touch the surface of the rotors or pads, place the pad in the carrier
9. Using a pair of pliers, squeeze the metal tabs on the back of the inboard pad to get them to fit inside the caliper hole, be sure to not contaminate the surface of the pad
10. Using either your hands, piston resetting tool, or a C-clamp, compress the piston all of the way
11. Slide the caliper onto the carrier and over the pad already on the caliper
12. Lightly grease the bolts that you removed from the caliper and bolt the caliper back on using the 7 mm hex key and replace the black caps and the clip on the outside of the caliper using a pair of pliers.
13. Repeat for the other side. NOTE: if your pads come with wear-sensors, you will have to unplug the cable from the old pad and plug it into the cable on the new pad. The pad with the wear sensor is the inboard pad on the front left side.

Finishing up
1. Place the wheels back on and tighten the lugs hand tight
2. Lower the car and torque the lugs to 88.5 ft/lbs 120 Nm)
3. Start the car and pump the brakes until they are firm. Your brakes may feel funny for the first 200 feet so make sure you aren’t in danger of hitting anything or rolling into anything.
4. Follow the bedding procedure outlined in the paperwork that came with your brakes. This usually involves making a few hard stops from various speeds.
Changine Brake Lines
You can change your brake lines before changing the pads/rotors or afterwards, it doesn't really matter. Just be sure to properly bleed the brakes once you are finished.
Here is a good write-up on line changing from Neuspeed. Thanks to xSabertoothX for the link: http://www.neuspeed.com/installation/brakes.aspx (Download PDF)
Torque Specs
Guide pins on the front caliper: 30 Nm
Front carrier bolts (21mm): 190 Nm
Hex bolts on the rear brake caliper: 35 Nm
12-point bolts that hold rear carrier: 90 Nm + 90 degrees
Rotor set screws: 4 Nm
Brake lines: 14 Nm
Anile-Eights DIY for adjusting the Parking Brake: http://golfmkv.com/forums/showthread.php?t=143861
Brake Bleeding Links:
Google "brake bleeding mkv gti" and click the first result to find a DIY. Here is more info on the order specified in the Bentley Manual
http://www.golfmkv.com/forums/showthread.php?t=91184
DISCLAIMER: Neither I nor any other members who have lent their advice or expertise to the writing of this DIY take any responsibility for any damage to personal property or injury to yourself...
Tools needed:
- 2 ton Jack and jack stands (preferably 4)
- 17mm deep socket or 17mm socket with extension (for lug nuts)
- torque wrench (optional-to tighten lugs to spec)
- 13 mm socket (or wrench)
- 21 mm socket
- 15 mm wrench
- M14 triple square bit. I recommend these: http://www.amazon.com/Pc-XZN-Bit-Dr..._2?ie=UTF8&s=automotive&qid=1219184466&sr=8-2
- T30 bit or driver
- Socket wrench with a breaker-bar
- Piston reset tool, available to rent from AutoZone or buy it here: http://www.metalnerd.com/cat08.htm
- Anti-squeal paste
- Brake and caliper grease
- 7 mm allen key
- pliers
Rear Brake Pads and Rotors
****If you are only going to swap pads, skip steps 4-6****
1. Loosen all lug nuts. Jack up car and remove wheels, always use jack stands, NEVER work on a car supported by only a jack
2. Remove the two bolts from back of the caliper using 13 mm and 15 mm wrenches
3. Remove the caliper, rest it on a jack or zip-tie it up so that the lines don’t stretch
4. Remove the two bolts holding on the carrier using an M14 twelve point bit.
5. Remove the carrier and remove the old pads from it. Set it aside.
6. Using a T30 bit, remove the screw holding on the rotor and remove the rotor
7. Sparingly apply some anti-squeal paste to the back of the pads, be sure to not let ANY of it touch the surface of the rotors or pads. Spread it with a plastic shopping bag or other clean-disposable spreader
8. Place the pads in the slots in the carrier
9. Replace the rotor and bolt the carrier back on, place some grease on the carrier bolts
10. Using the piston resetting tool, compress the piston as far as possible
11. Slide the caliper onto the carrier and bolt the caliper back on
12. Check all of the bolts to make sure that they are tight. Make sure that your lines are not leaking at the fittings, and make sure that the rotors are clean. You can spray them with Brake Cleaner to make sure, but do not let the brake cleaner touch the brake pads
13. Repeat for the other side.
Front Brake Pads and Rotors
****If you are only going to swap pads, skip steps 4-6****
1. Remove the metal clip holding the front caliper to the carrier using a large flathead screwdriver or pliers
2. Remove the black plastic caps covering the bolt that hold the caliper on. Using a 7 mm allen wrench, remove both of the bolts.
3. Remove and secure the caliper so that the lines aren’t stretched
4. Using a 21 mm socket, remove the bolts that hold on the carrier
5. Then remove the carrier and the screw that holds the rotor on, remove the old pad from the carrier
6. Replace the rotor and the screw that holds it on, then lightly grease the carrier bolts and bolt the carrier back on
7. Pull the old inboard pad off of the caliper
8. Sparingly apply some anti-squeal paste to the back of the outboard pad, be sure to not let ANY of it touch the surface of the rotors or pads, place the pad in the carrier
9. Using a pair of pliers, squeeze the metal tabs on the back of the inboard pad to get them to fit inside the caliper hole, be sure to not contaminate the surface of the pad
10. Using either your hands, piston resetting tool, or a C-clamp, compress the piston all of the way
11. Slide the caliper onto the carrier and over the pad already on the caliper
12. Lightly grease the bolts that you removed from the caliper and bolt the caliper back on using the 7 mm hex key and replace the black caps and the clip on the outside of the caliper using a pair of pliers.
13. Repeat for the other side. NOTE: if your pads come with wear-sensors, you will have to unplug the cable from the old pad and plug it into the cable on the new pad. The pad with the wear sensor is the inboard pad on the front left side.
Finishing up
1. Place the wheels back on and tighten the lugs hand tight
2. Lower the car and torque the lugs to 88.5 ft/lbs 120 Nm)
3. Start the car and pump the brakes until they are firm. Your brakes may feel funny for the first 200 feet so make sure you aren’t in danger of hitting anything or rolling into anything.
4. Follow the bedding procedure outlined in the paperwork that came with your brakes. This usually involves making a few hard stops from various speeds.
Changine Brake Lines
You can change your brake lines before changing the pads/rotors or afterwards, it doesn't really matter. Just be sure to properly bleed the brakes once you are finished.
Here is a good write-up on line changing from Neuspeed. Thanks to xSabertoothX for the link: http://www.neuspeed.com/installation/brakes.aspx (Download PDF)
Torque Specs
Guide pins on the front caliper: 30 Nm
Front carrier bolts (21mm): 190 Nm
Hex bolts on the rear brake caliper: 35 Nm
12-point bolts that hold rear carrier: 90 Nm + 90 degrees
Rotor set screws: 4 Nm
Brake lines: 14 Nm
Anile-Eights DIY for adjusting the Parking Brake: http://golfmkv.com/forums/showthread.php?t=143861
Brake Bleeding Links:
Google "brake bleeding mkv gti" and click the first result to find a DIY. Here is more info on the order specified in the Bentley Manual
http://www.golfmkv.com/forums/showthread.php?t=91184
Last edited:
